
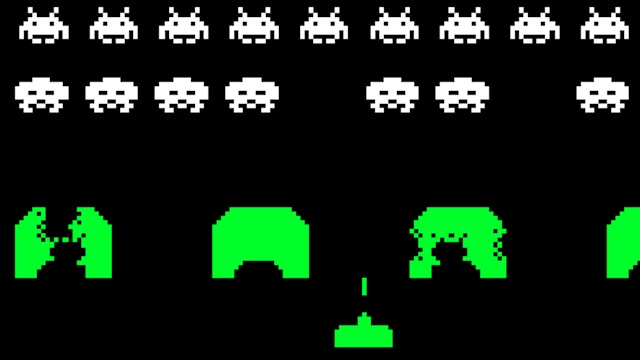
In the late 1970’s, I spent a lot of time and money playing Space Invaders in a little arcade at Holland Village in Singapore. In 2009, I wanted to relive those days by building a MAME arcade cabinet, and after a lot of researching the net for ideas, commenced building.
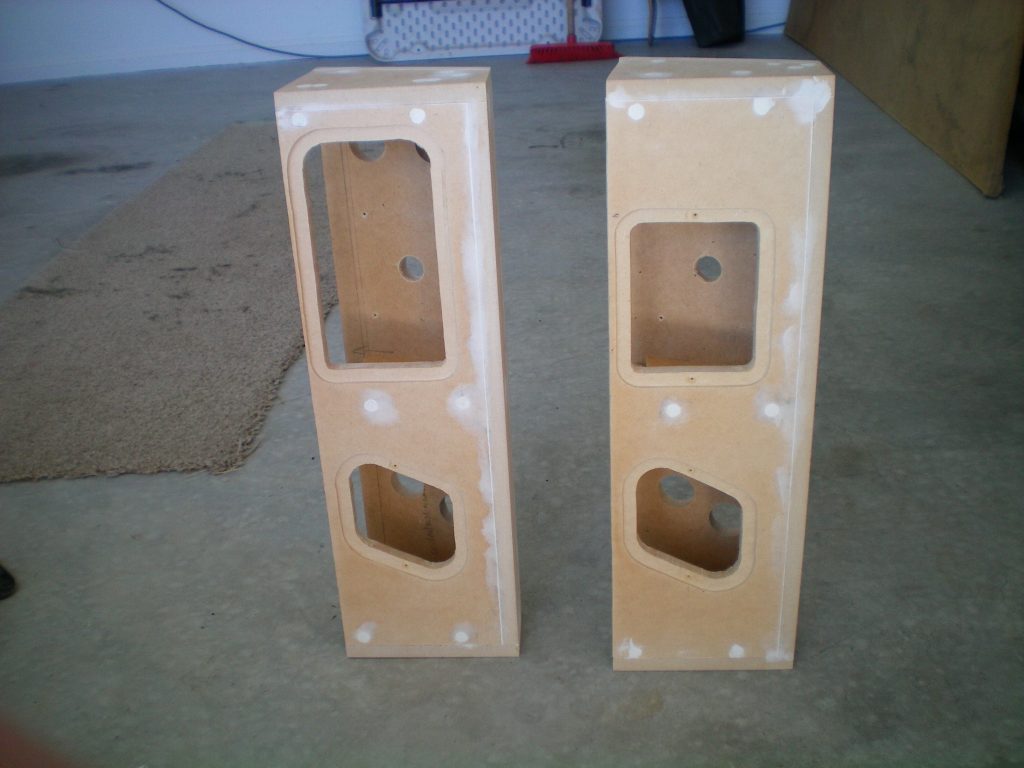
I chose a cocktail style cabinet over a normal stand up as that was mostly what I played and enjoyed in those early days. A lot of the style and design was borrowed from a website I found here at The Cocktail Lounge. Before starting I needed to gather a few bits and pieces, especially the monitor, to ensure it would fit with the dimensions I had chosen.
I managed to come across a Compaq V720 monitor and my boss had an old Intel PIII PC he was selling at the time. This PIII would run the majority of the those older 1970 & 1980 games which would be fine for a guy of my vintage. With the monitor dimensions checked against the plans from Ian’s Cocktail Lounge website, I set about putting together the cabinet.
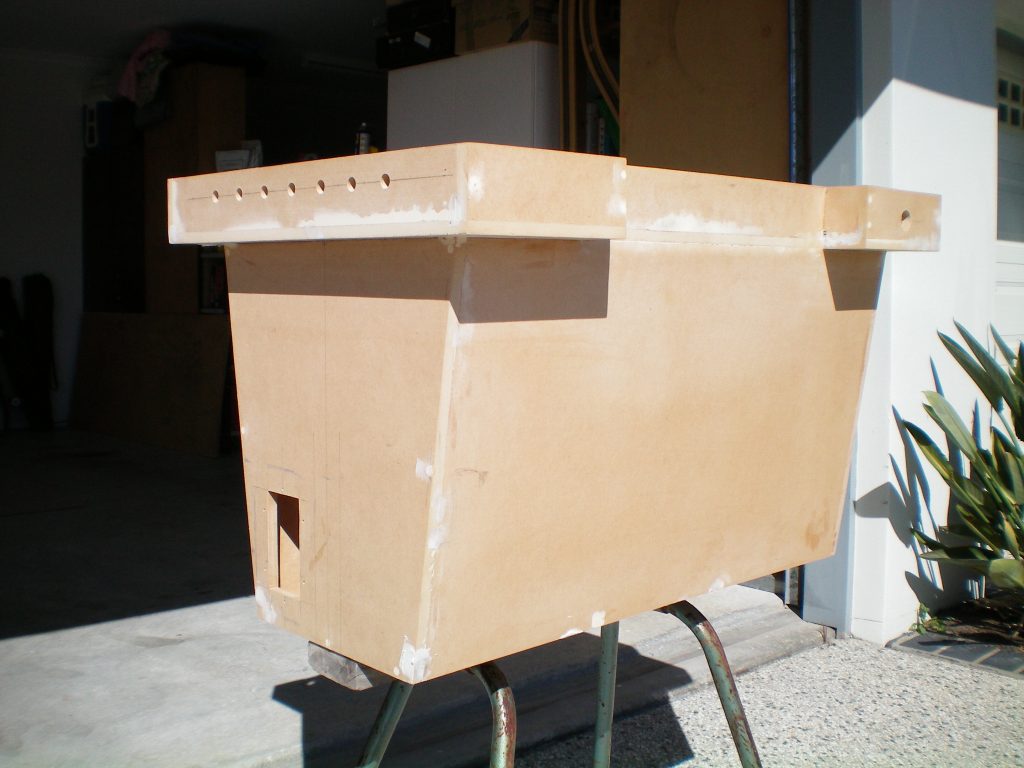
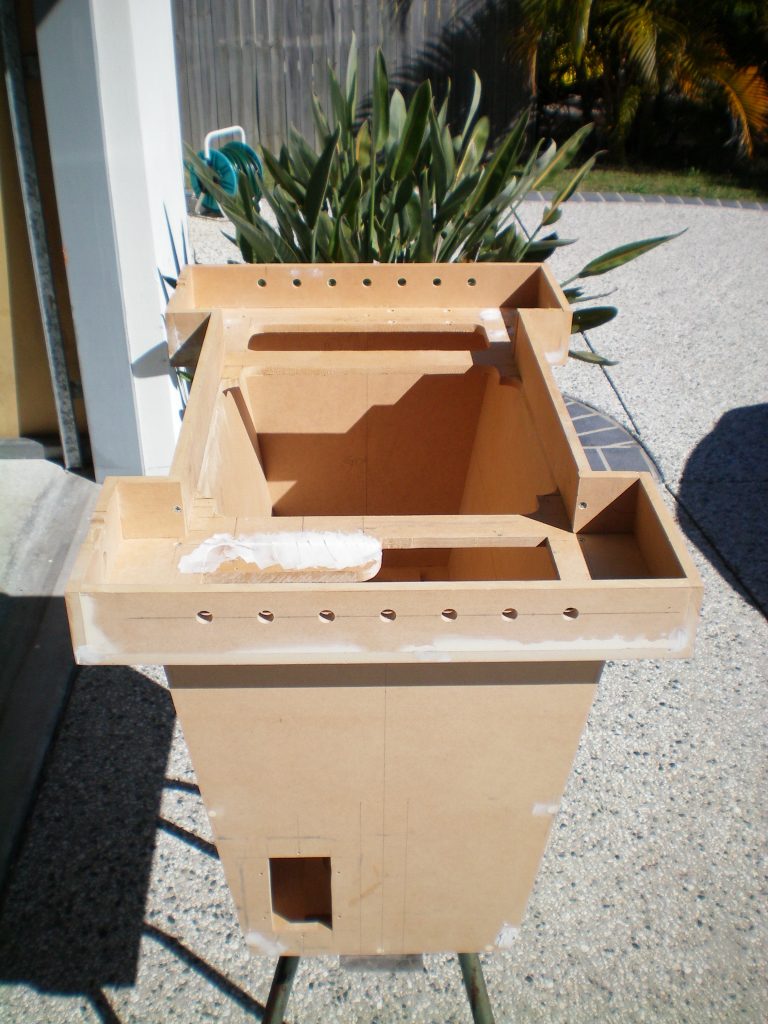
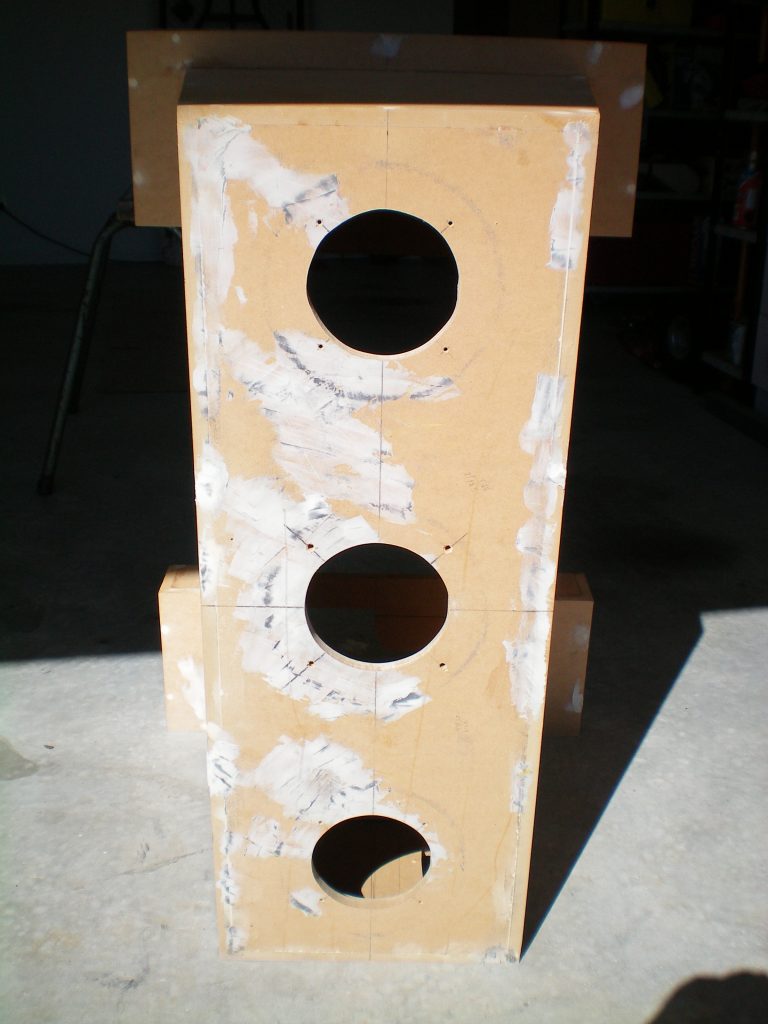
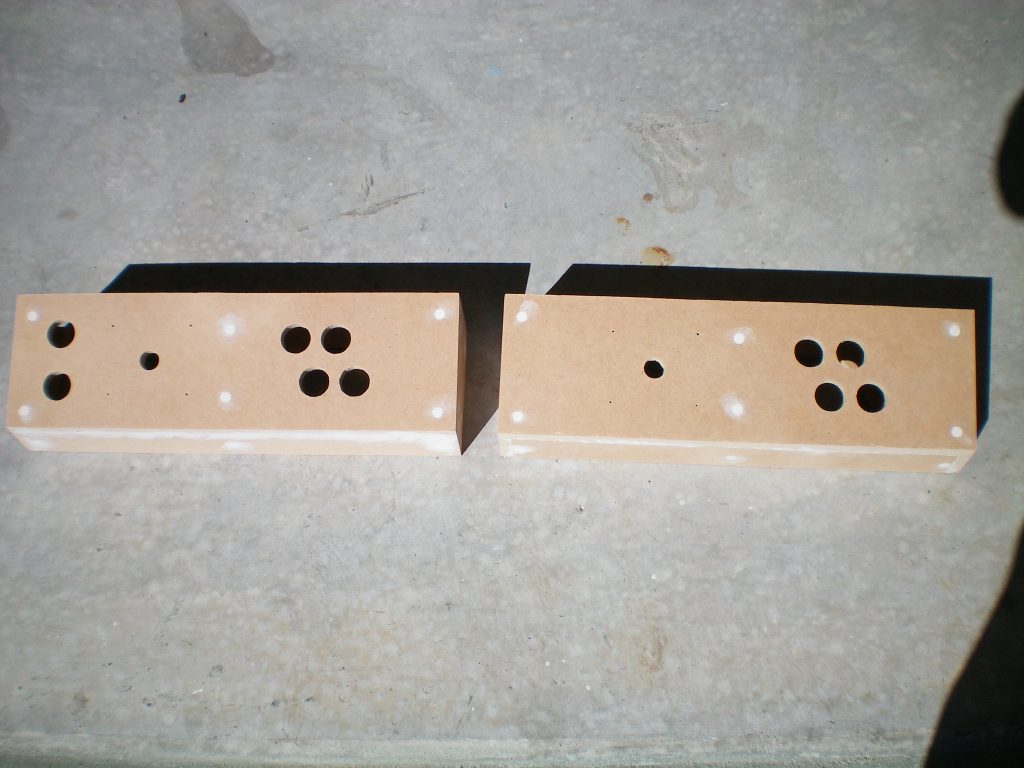
By the time these pictures were taken, I had already bought the joysticks, buttons and keyboard controller from OzStick. The speakers had been chosen and bought, and all the other accessories needed to make the cut outs necessary at the woodworking stage.
I needed to make some very sturdy legs for the cabinet, as it was starting to weight a lot, and with the monitor in the box, needed two people to lift the sucker. I don’t own a welder, so I thought I would seek out a welding shop to make the legs for me. I drew up a design and the shop told me $200. We’re talking a couple bits of square tube and some bolts. Bah, I decided to do it myself. I bought the tubing and borrowed a welder from a mate, and after a couple of test runs, was ready to go.
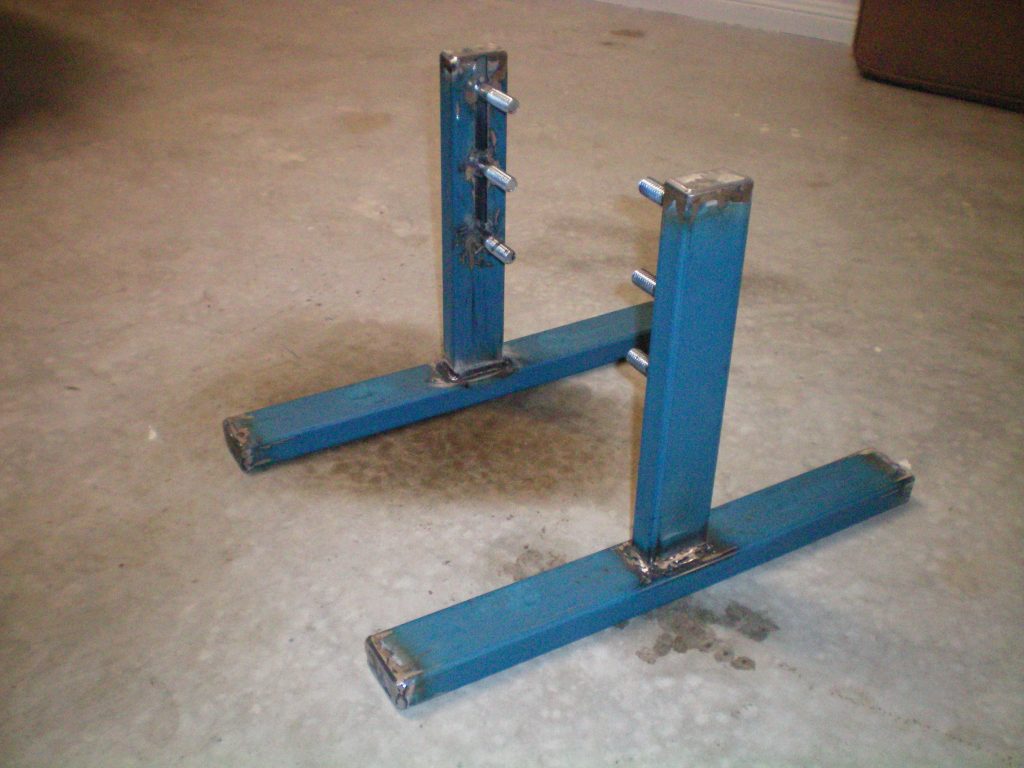
To make the legs look good before painting, I used auto body filler to smooth out the welding and grinding marks. They actually came up quite a bit better that I thought they would.
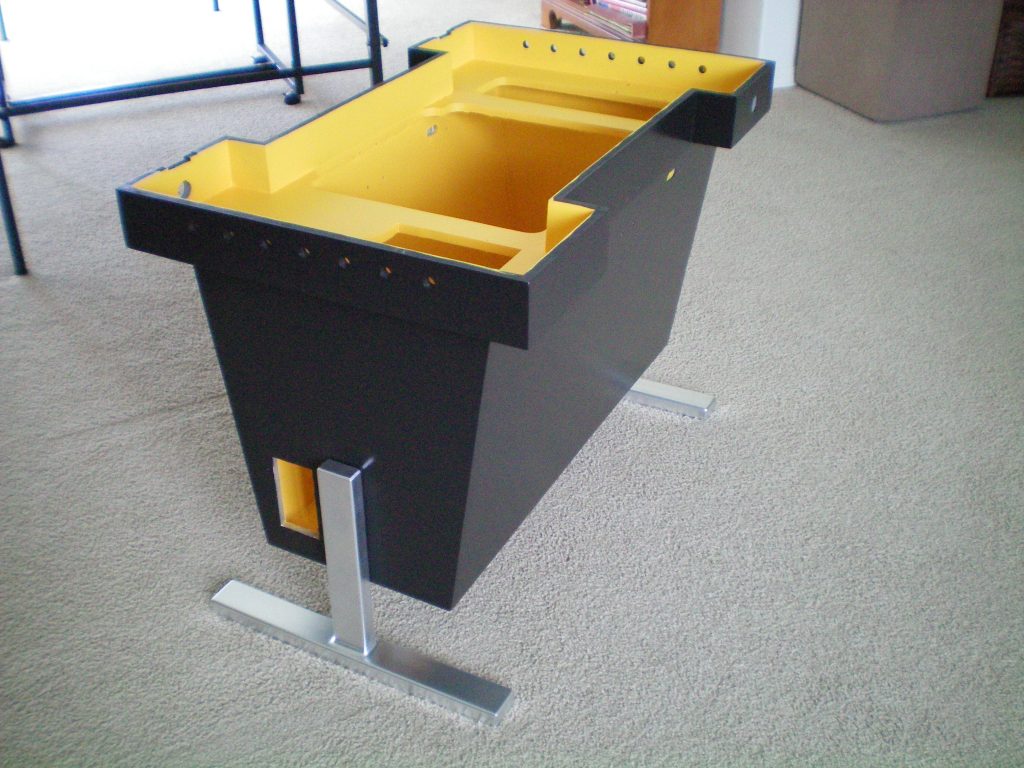
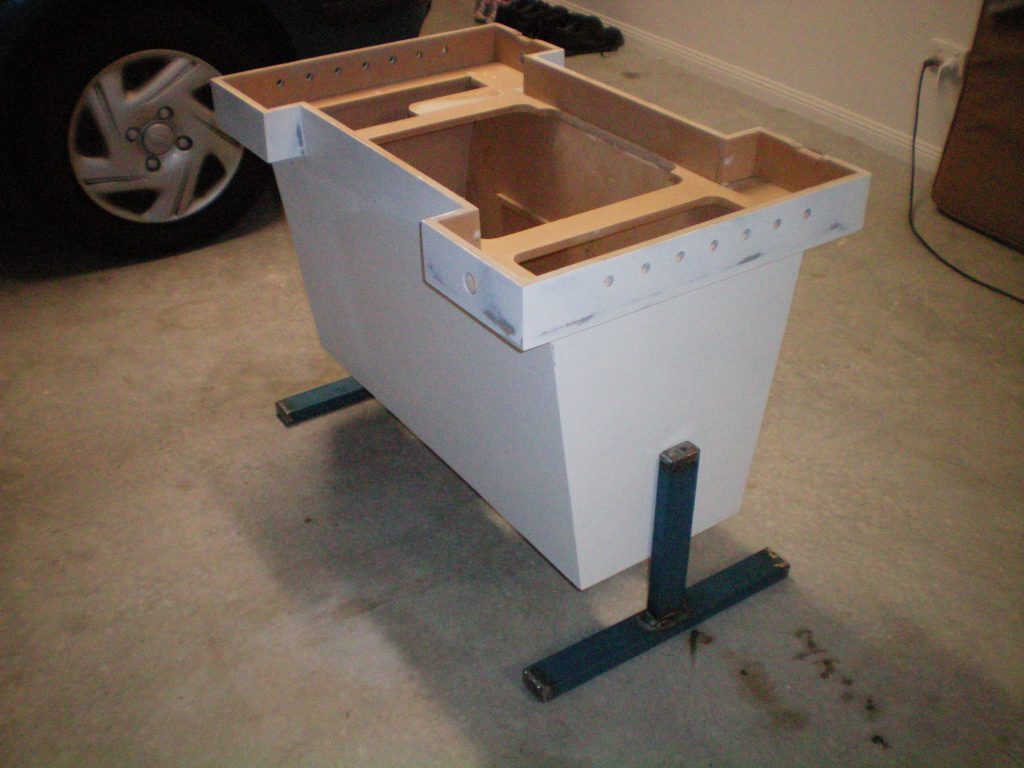
I wanted black gloss for the outside, but I also wanted the inside to pop as well, so I found some old yellow paint in the shed.
Part 2 will detail the component fit out.