

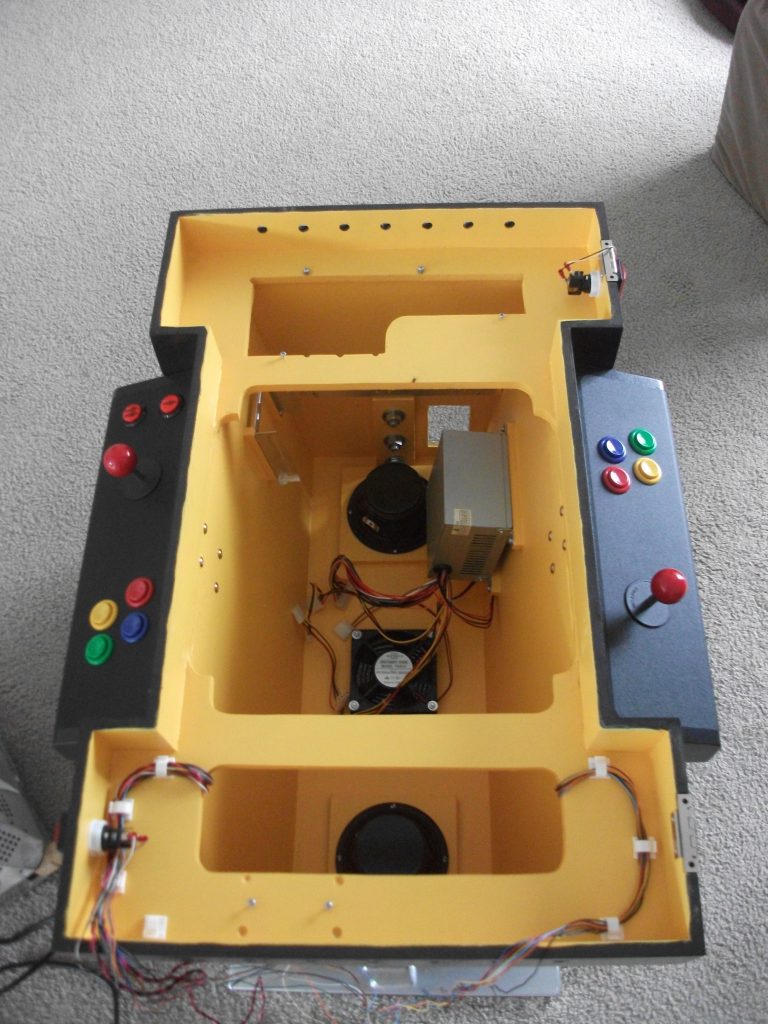
Now for the fun part, putting it all together. All the hard work has been done. Measuring, measuring again, cutting, welding, screwing, bolting, trial fitting, painting and many beers. Oh, and of course cursing. It’s taken about a year and a half to get to this point (I get distracted with other projects), but now (hopefully) everything just fits together.
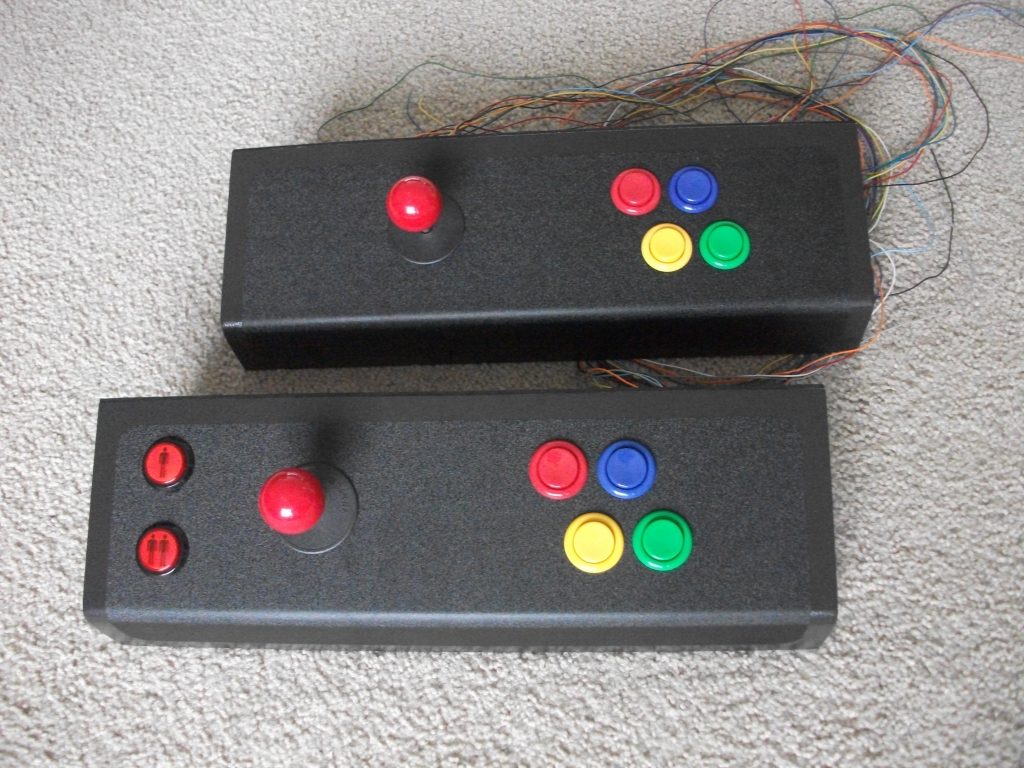
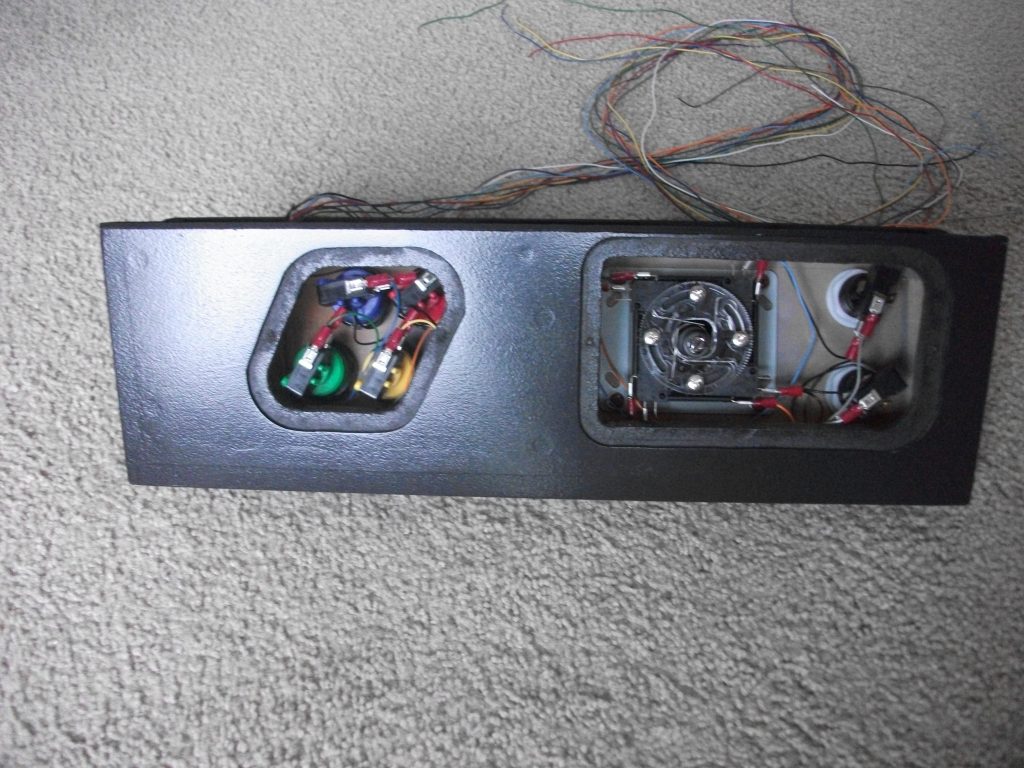
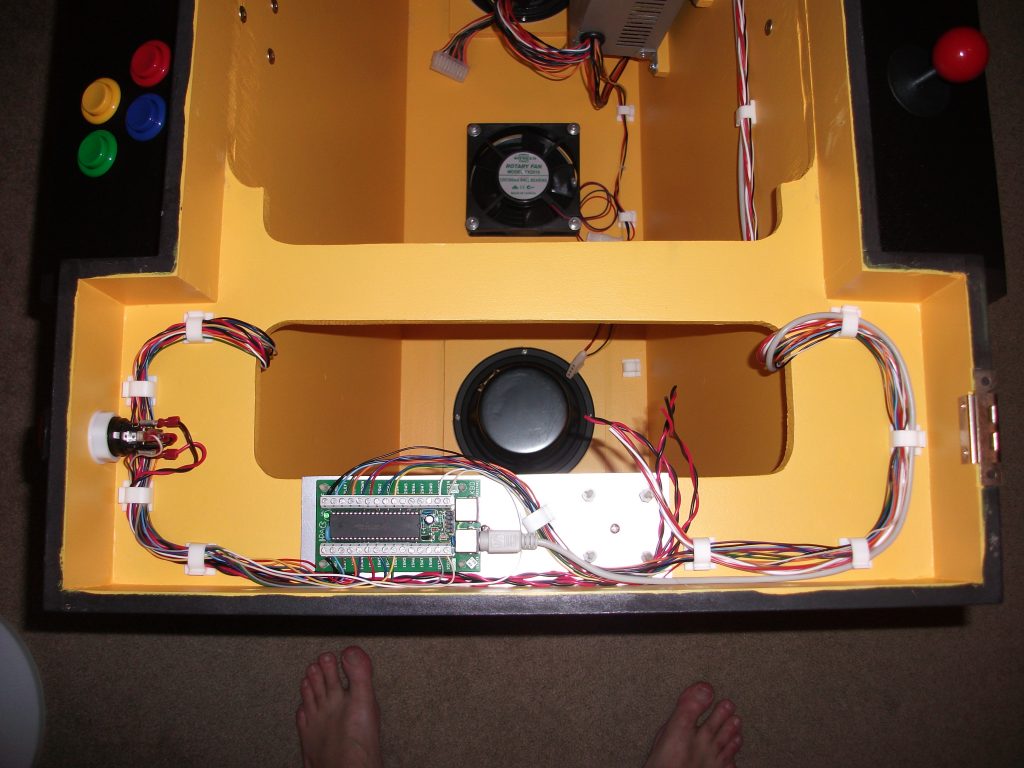
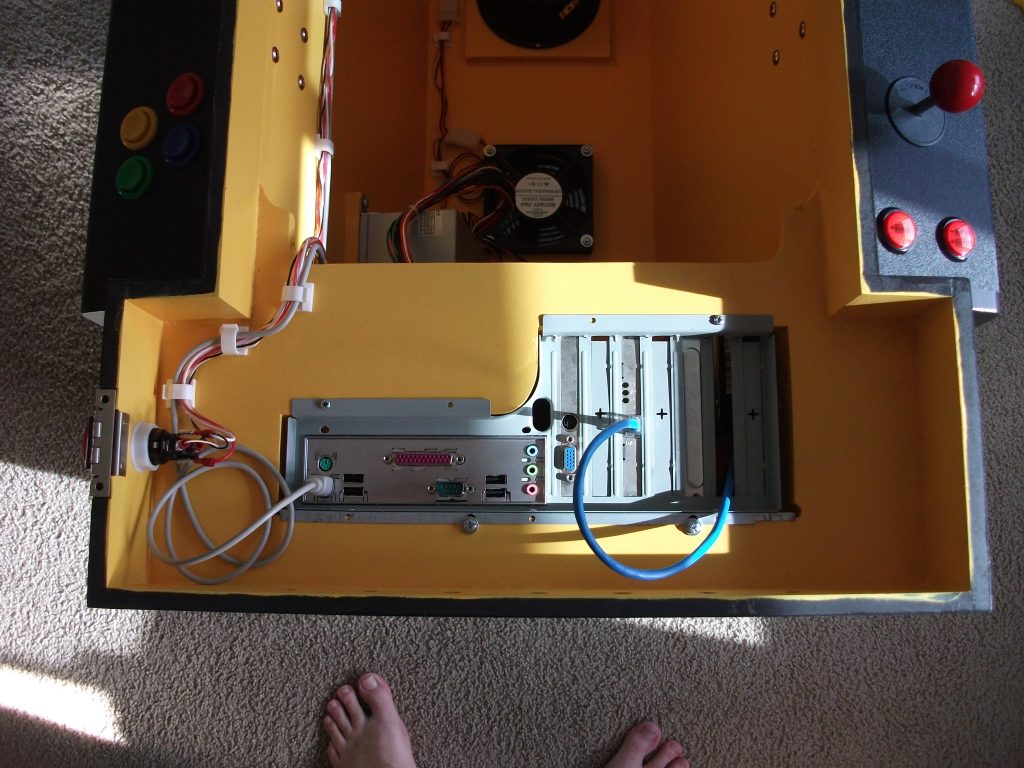
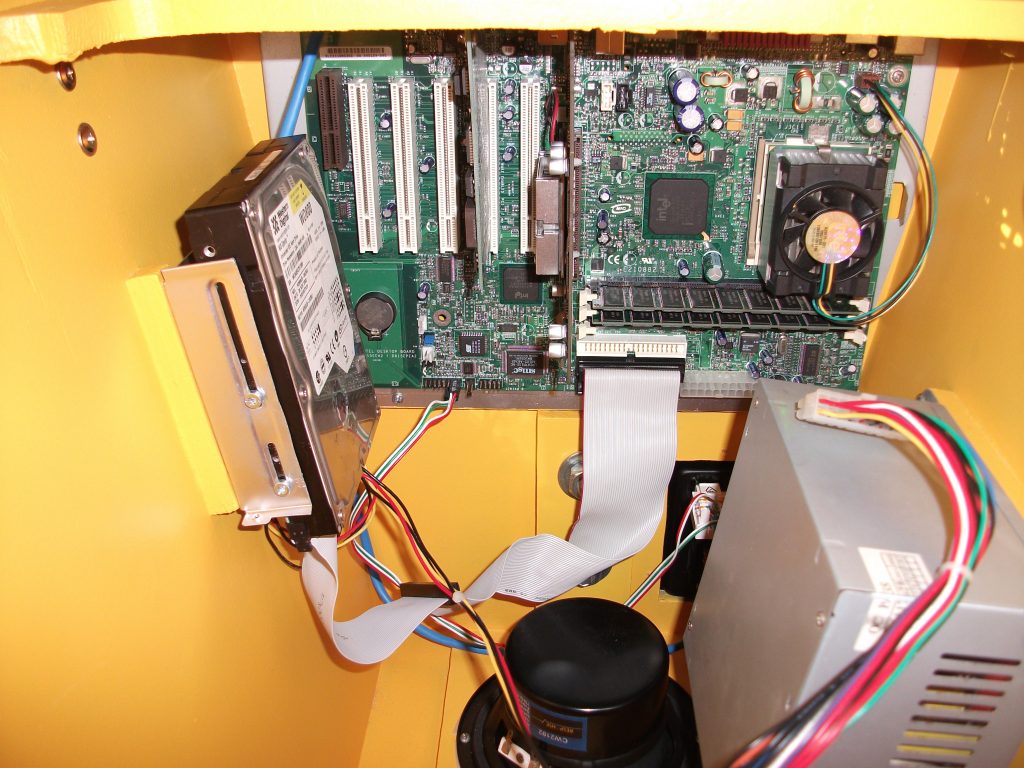
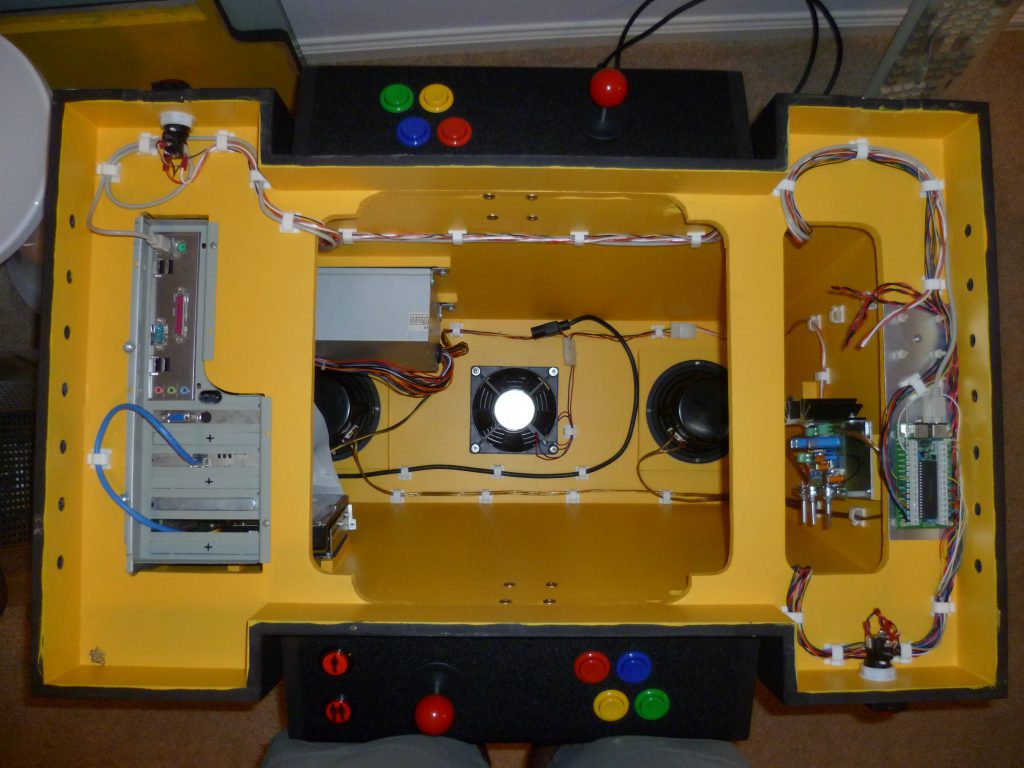
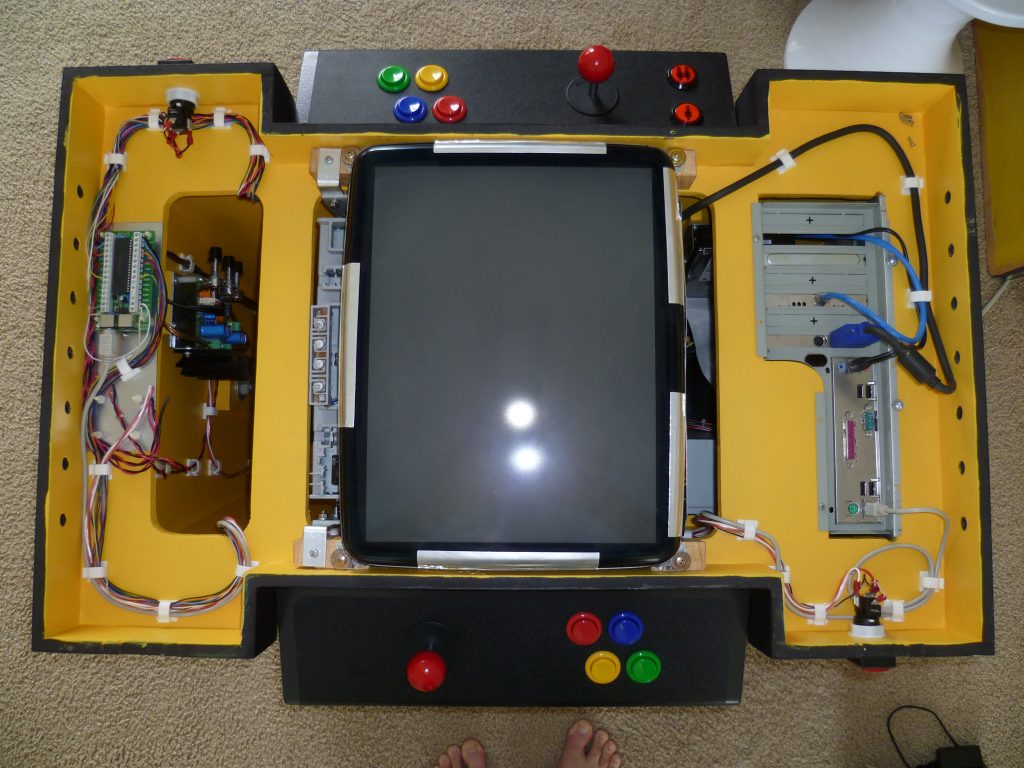
Now that the joysticks and buttons are wired up, its time to fit them to the cabinet and get the computer installed. The keyboard encoder is an Ultimarc I-PAC2 which I bought with the joysticks and buttons. Most of my bosses computer was used, even the case was hacked to hold the motherboard in the cabinet.
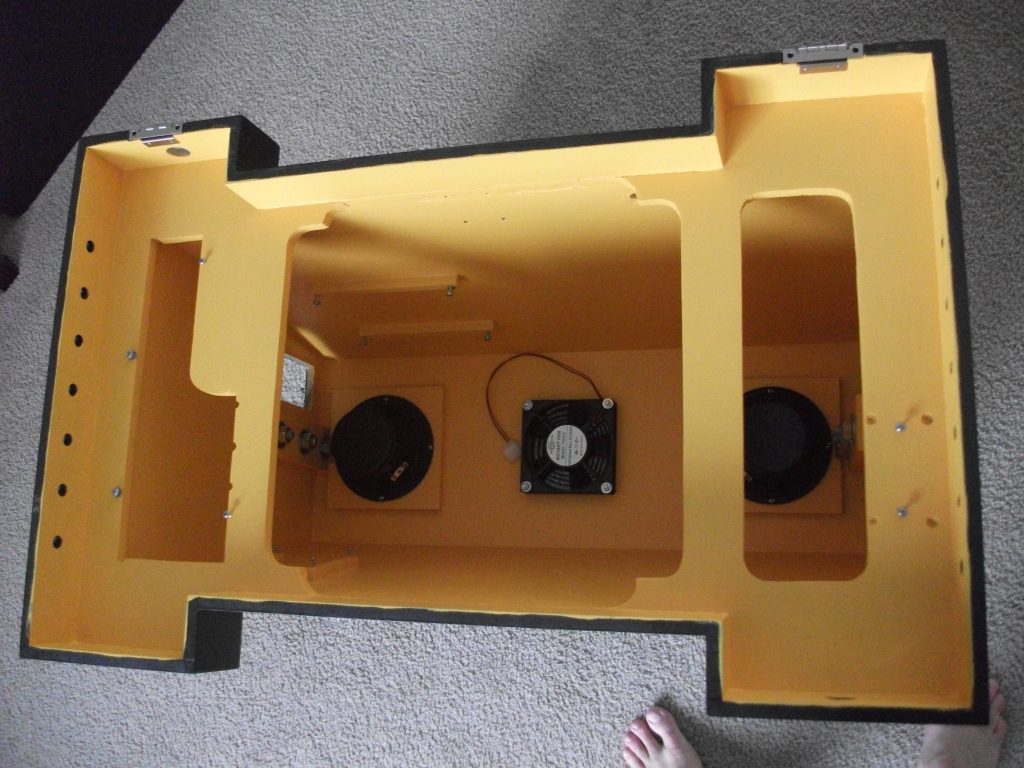
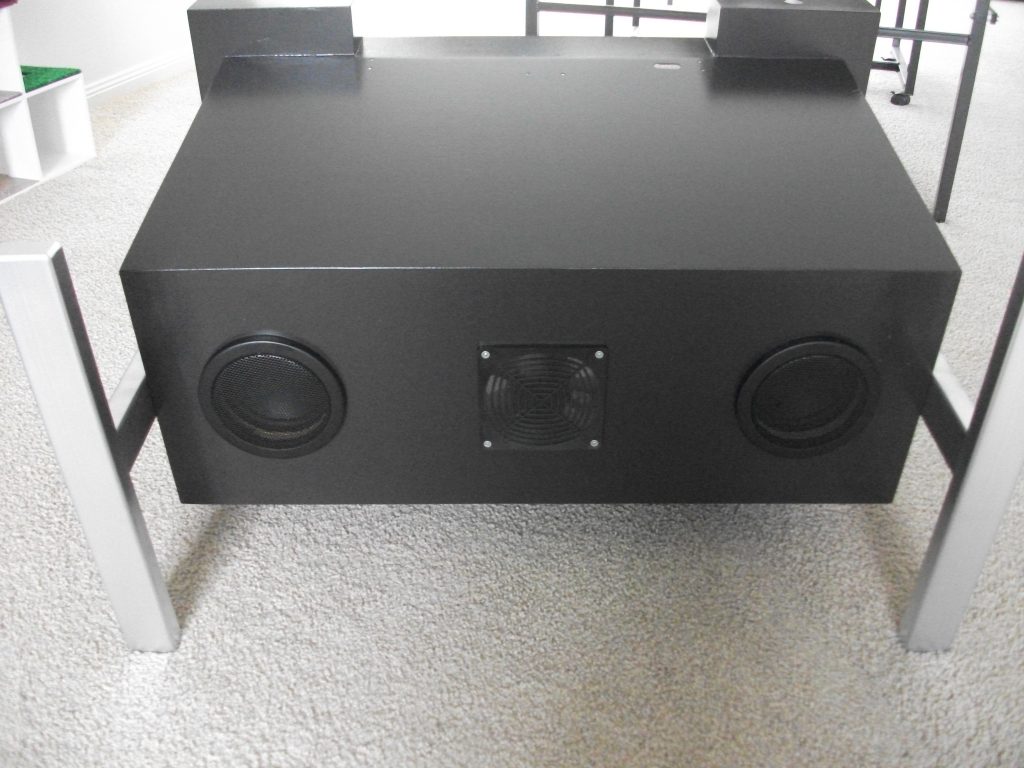
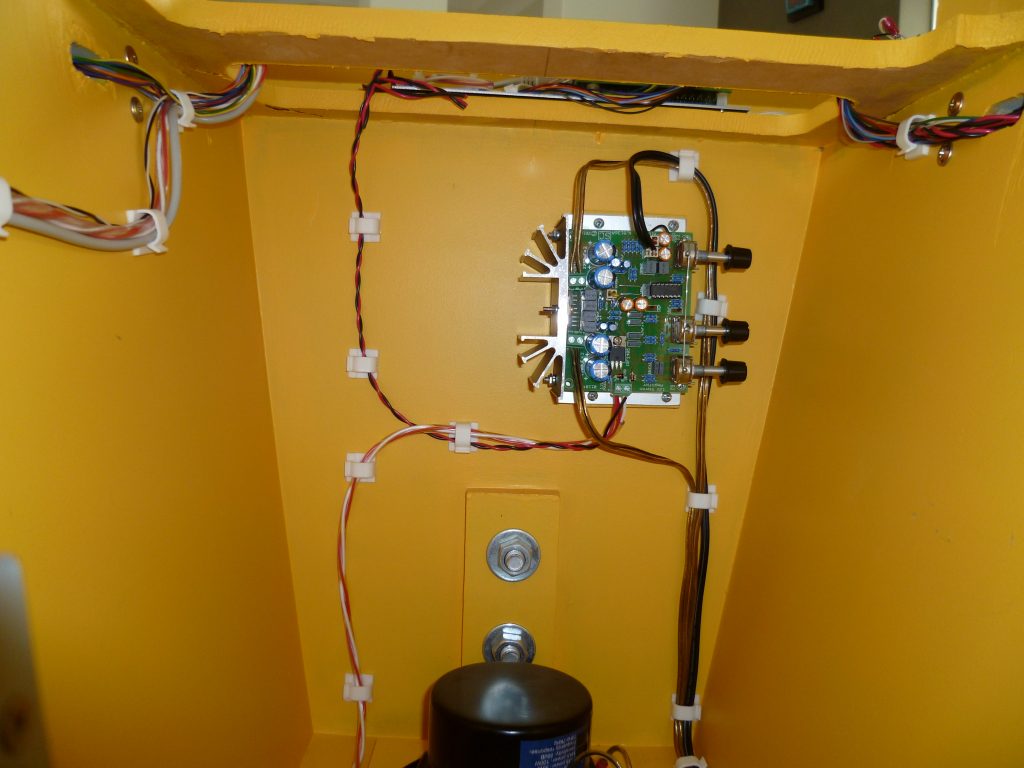
Now the computer is installed, we need some sound. I looked around for an stereo amp that would run on 12VDC. I thought about hacking a pair of computer speakers, but needed something with some oomph. I found a kit that did the job on the Altronics website. I suppose I could have bought one of those black blobs with wires out the bottom that might have worked, but I’m an electronics engineer at heart, so why would I pass up building a kit?
The monitor had the cover and front bezel removed, and some mounting straps added, but apart from that, it just slips in and connects to the computer as usual. As you can see I mounted the monitor for predominantly vertical games, but it is big enough to play the likes of Moon Patrol just fine.
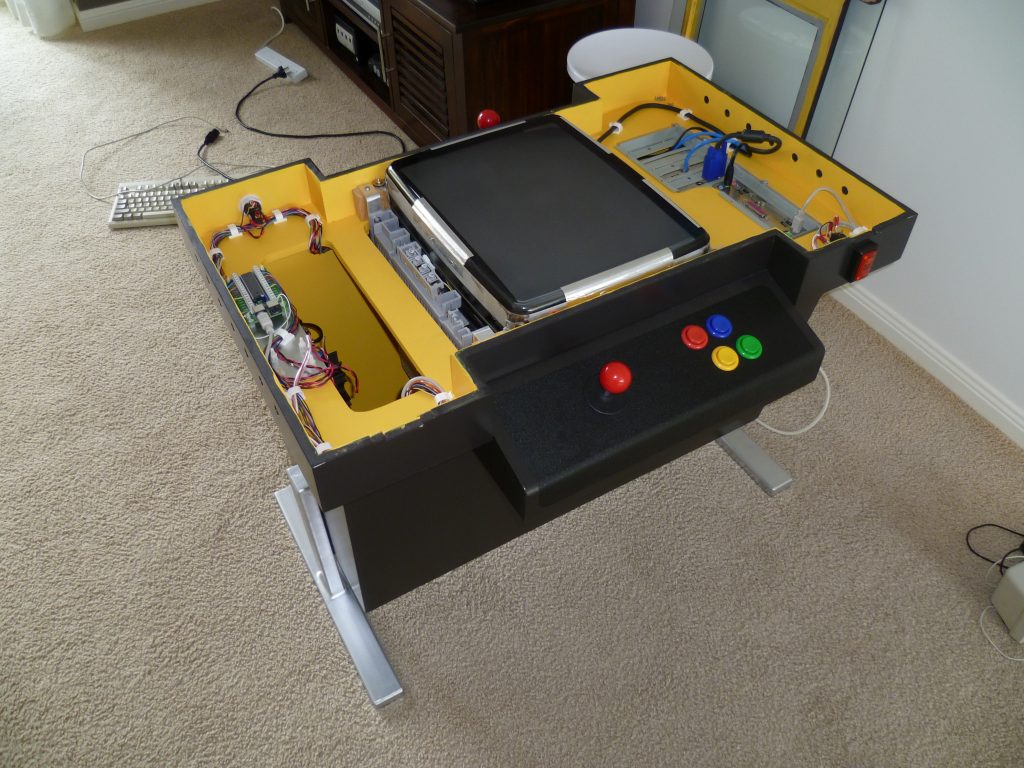
Ready for the software load and testing, but first we need to pick the operating system & software frontends for MAME.