
In the middle of June, 2014, my daughter decided to have a costume party for her 17th birthday, in August of that year. I decided to push myself to build more of my Boba Fett costume to go with my strawboard helmet I had built in 2007. But this time I couldn’t just build a small part of the costume. I was going to have to build most of the costume to at least look a little like Boba Fett. This was a mammoth undertaking and I worked on it every weekend and work night up until the party. I think I bit off more than I could chew, but I gave it a red hot go.
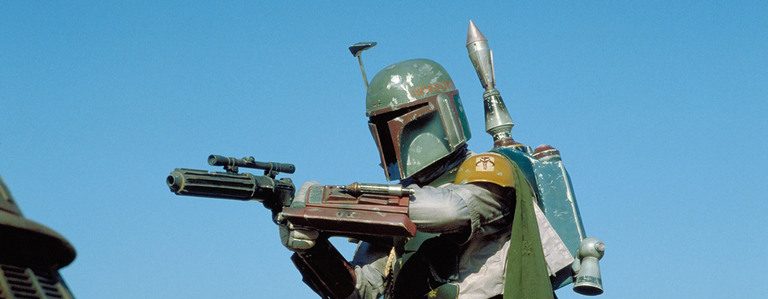
Once again, I will be using Alan Sinclair’s fantastic templates to help me through. In this part, I will detail the build of the gauntlets, the body armour, shoulder and knee armour. You can see in the featured image one of the gauntlets on Boba’s left arm and some of his armour. The gauntlets are also one of the more interesting parts of the costume build.
Instead of building the hard armour parts out of strawboard, like I did with the helmet, I decided to use something a little more rigid, foamed PVC sheet, to give the costume some hardness and longevity. The good thing about this material is that you can cut it with a Stanley knife, stick it together with superglue and it can be softened and shaped with a heat gun. I bought a sheet from a local plastics dealer and he was very amused at what I was going to be doing with it.
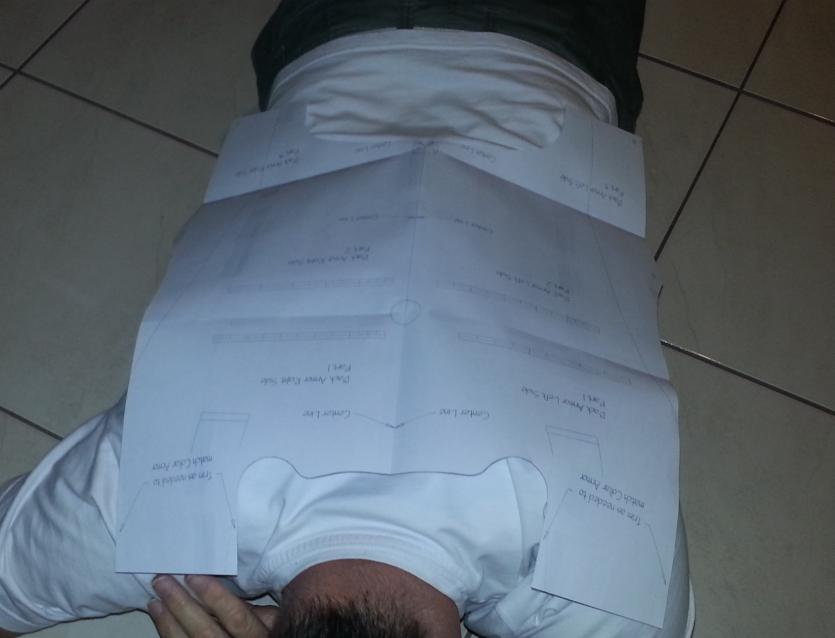
I tried to print out the templates with my body height and size in mind. I’m close to 6 foot, so Alan had some sizing guidelines and I printed them based on that. Just to be sure the armour size didn’t look ridiculously small or large, I tried them on for size.
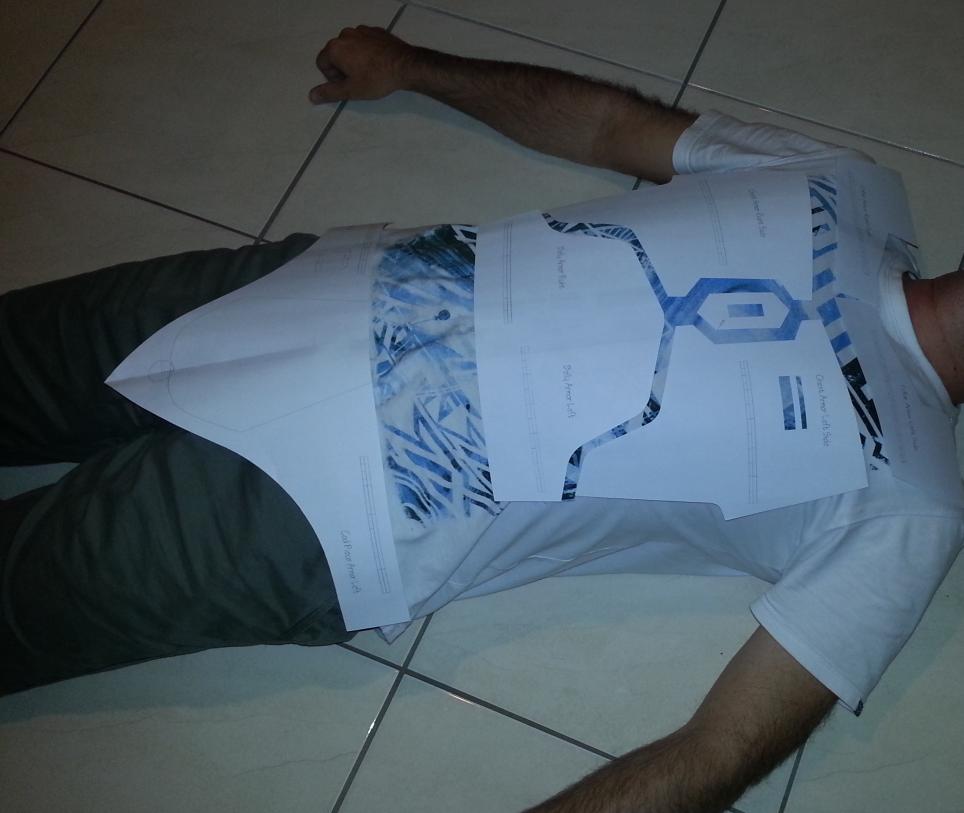
Above are the front armour template pieces, and below is the back armour.
I laid out the templates on the PVC Foamboard and cut out the pieces of the armour and gauntlets ready to form and glue together. I got so rapped up in all of this that I forgot to take any photos of the process. I will show this process in more detail with the jetpack build in a future post.
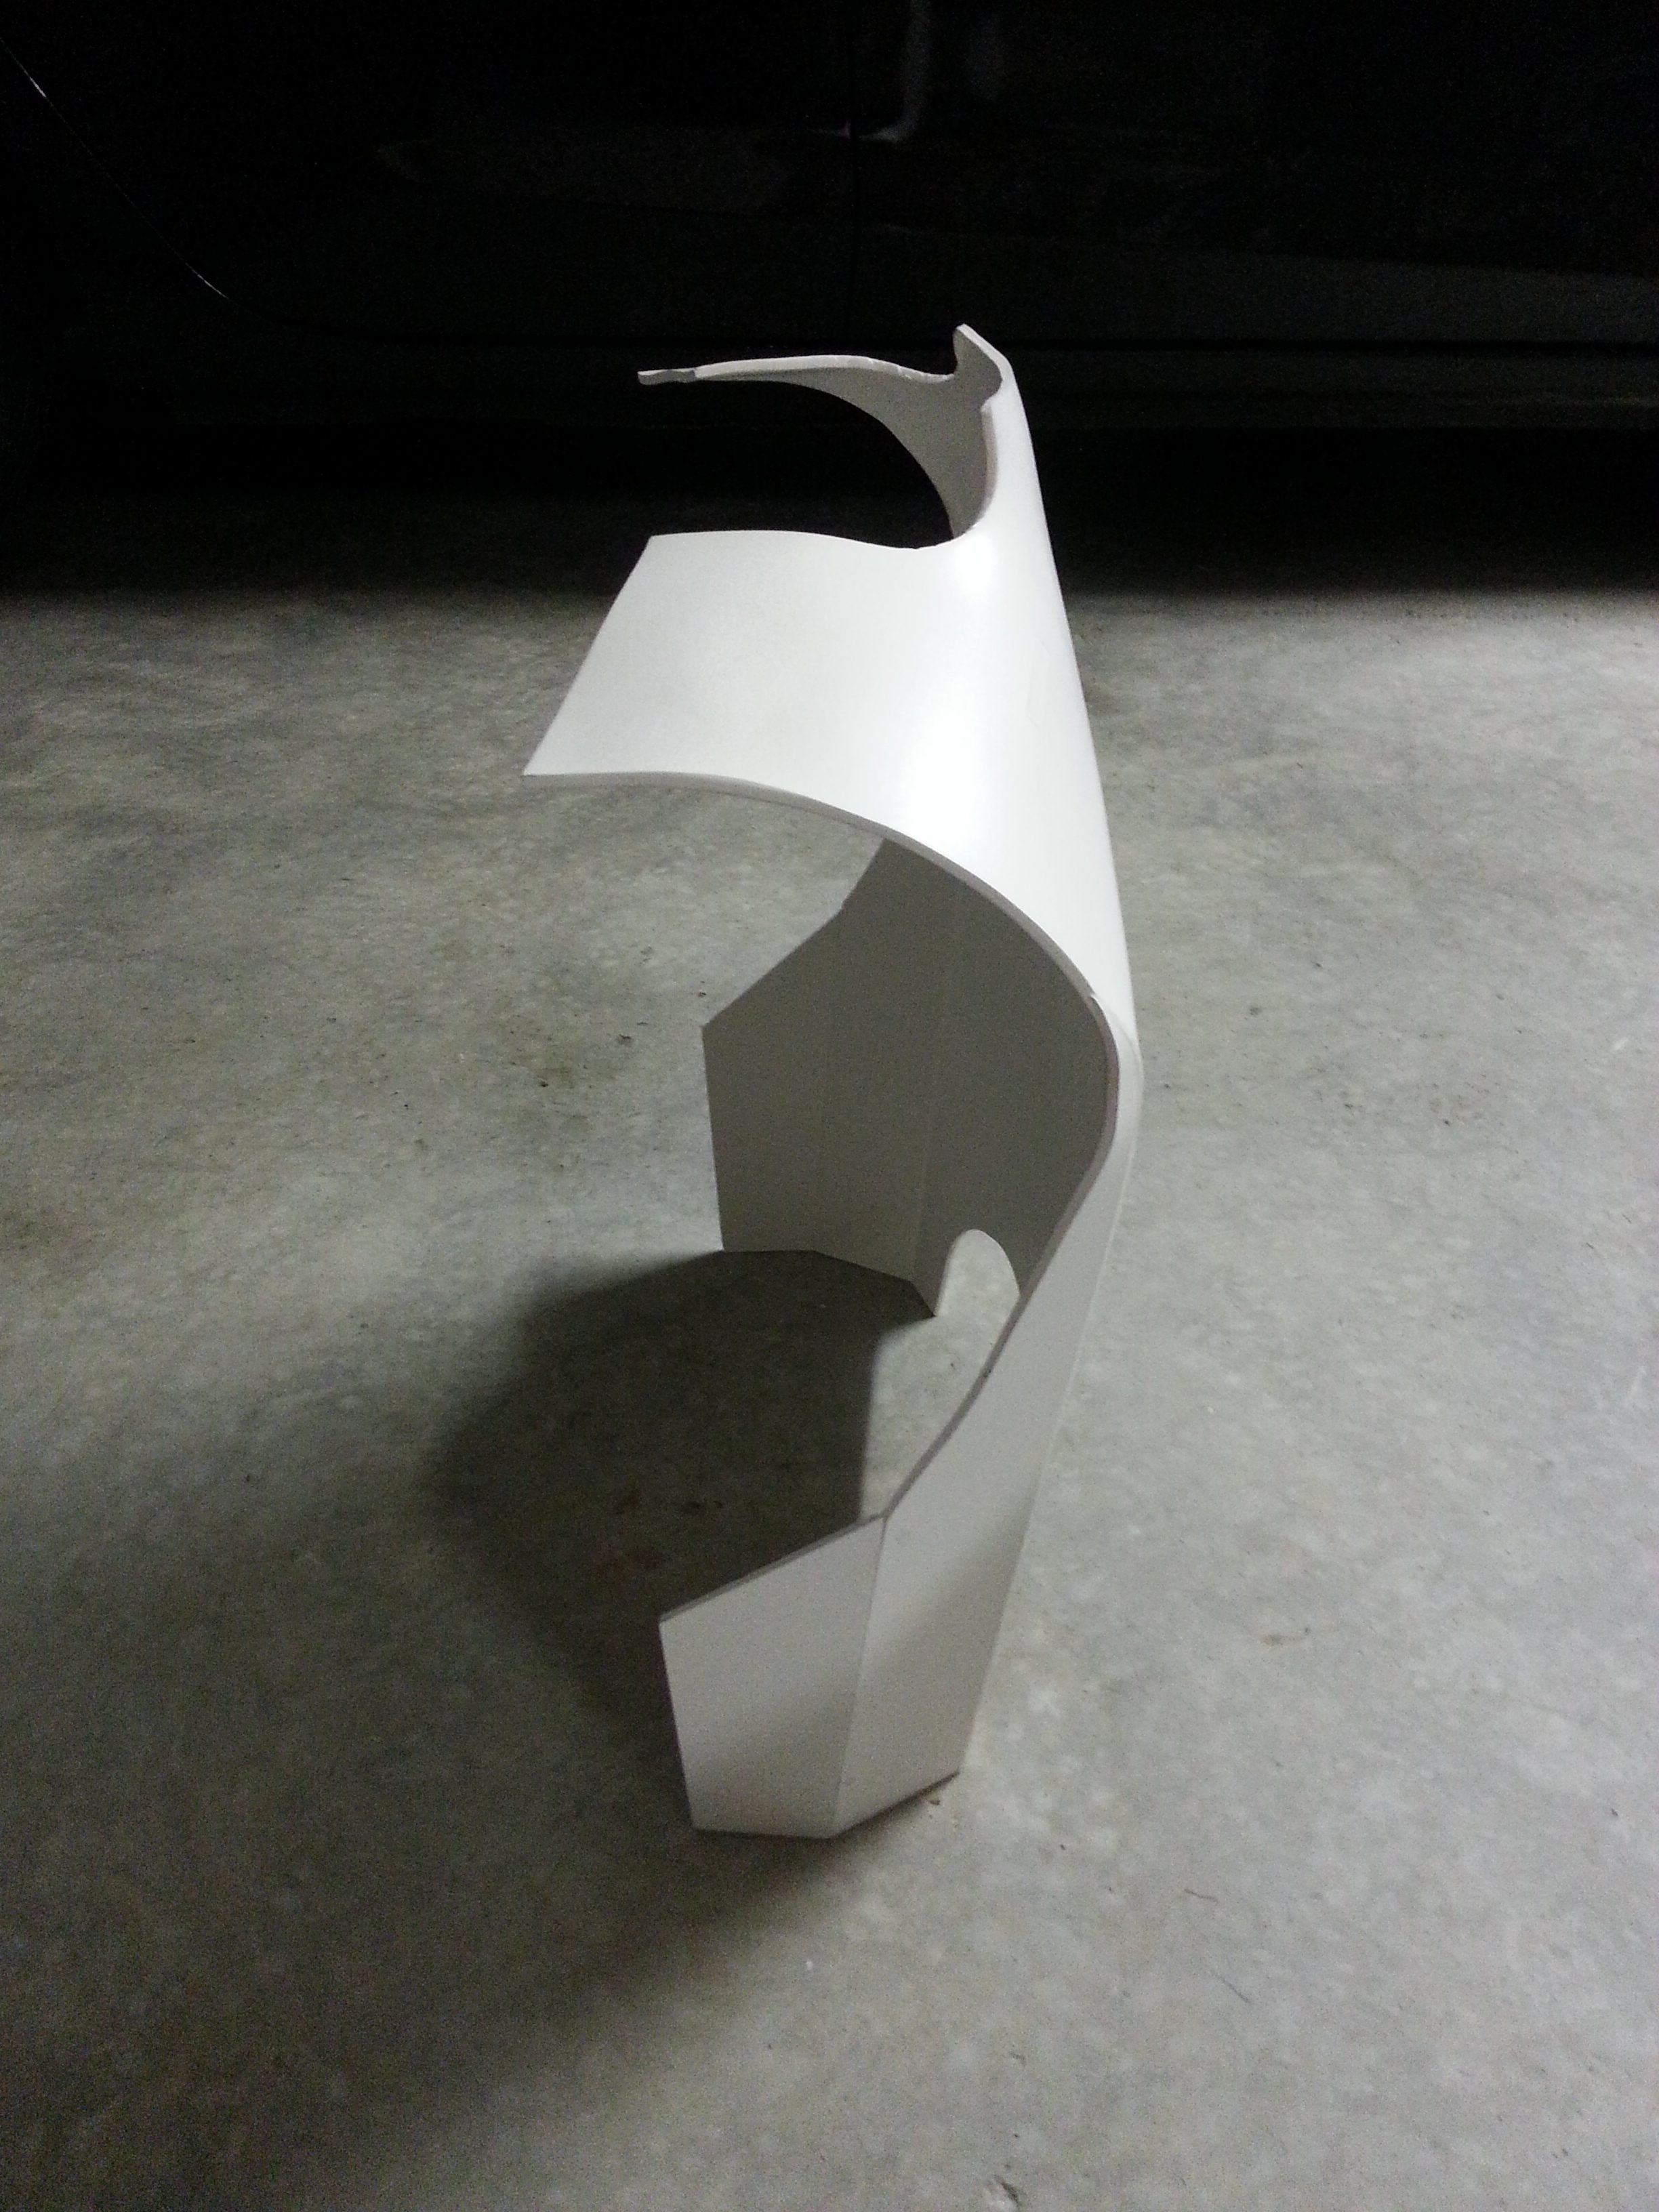
The gauntlets are designed to be built in 2 halves curved around your forearm. I had to build a jig to put the foamboard pieces on and curve them around the jig once I had heated them up with the heat gun. It worked reasonably well, but found it was handy to glue in some stiffening braces to give them some additional strength to hold the shape. With the top half and bottom half of each gauntlet done, I had to decide how I was going to bring the two halves together. If you build them as a full one piece gauntlet, there was no way you would get your hands through them to put them on. So I needed a way to be able to take the two halves apart, to get them on and off my arm. I had seen some very ingenuous ways of doing this on he net and I settled on using piano hinges to achieve this goal.
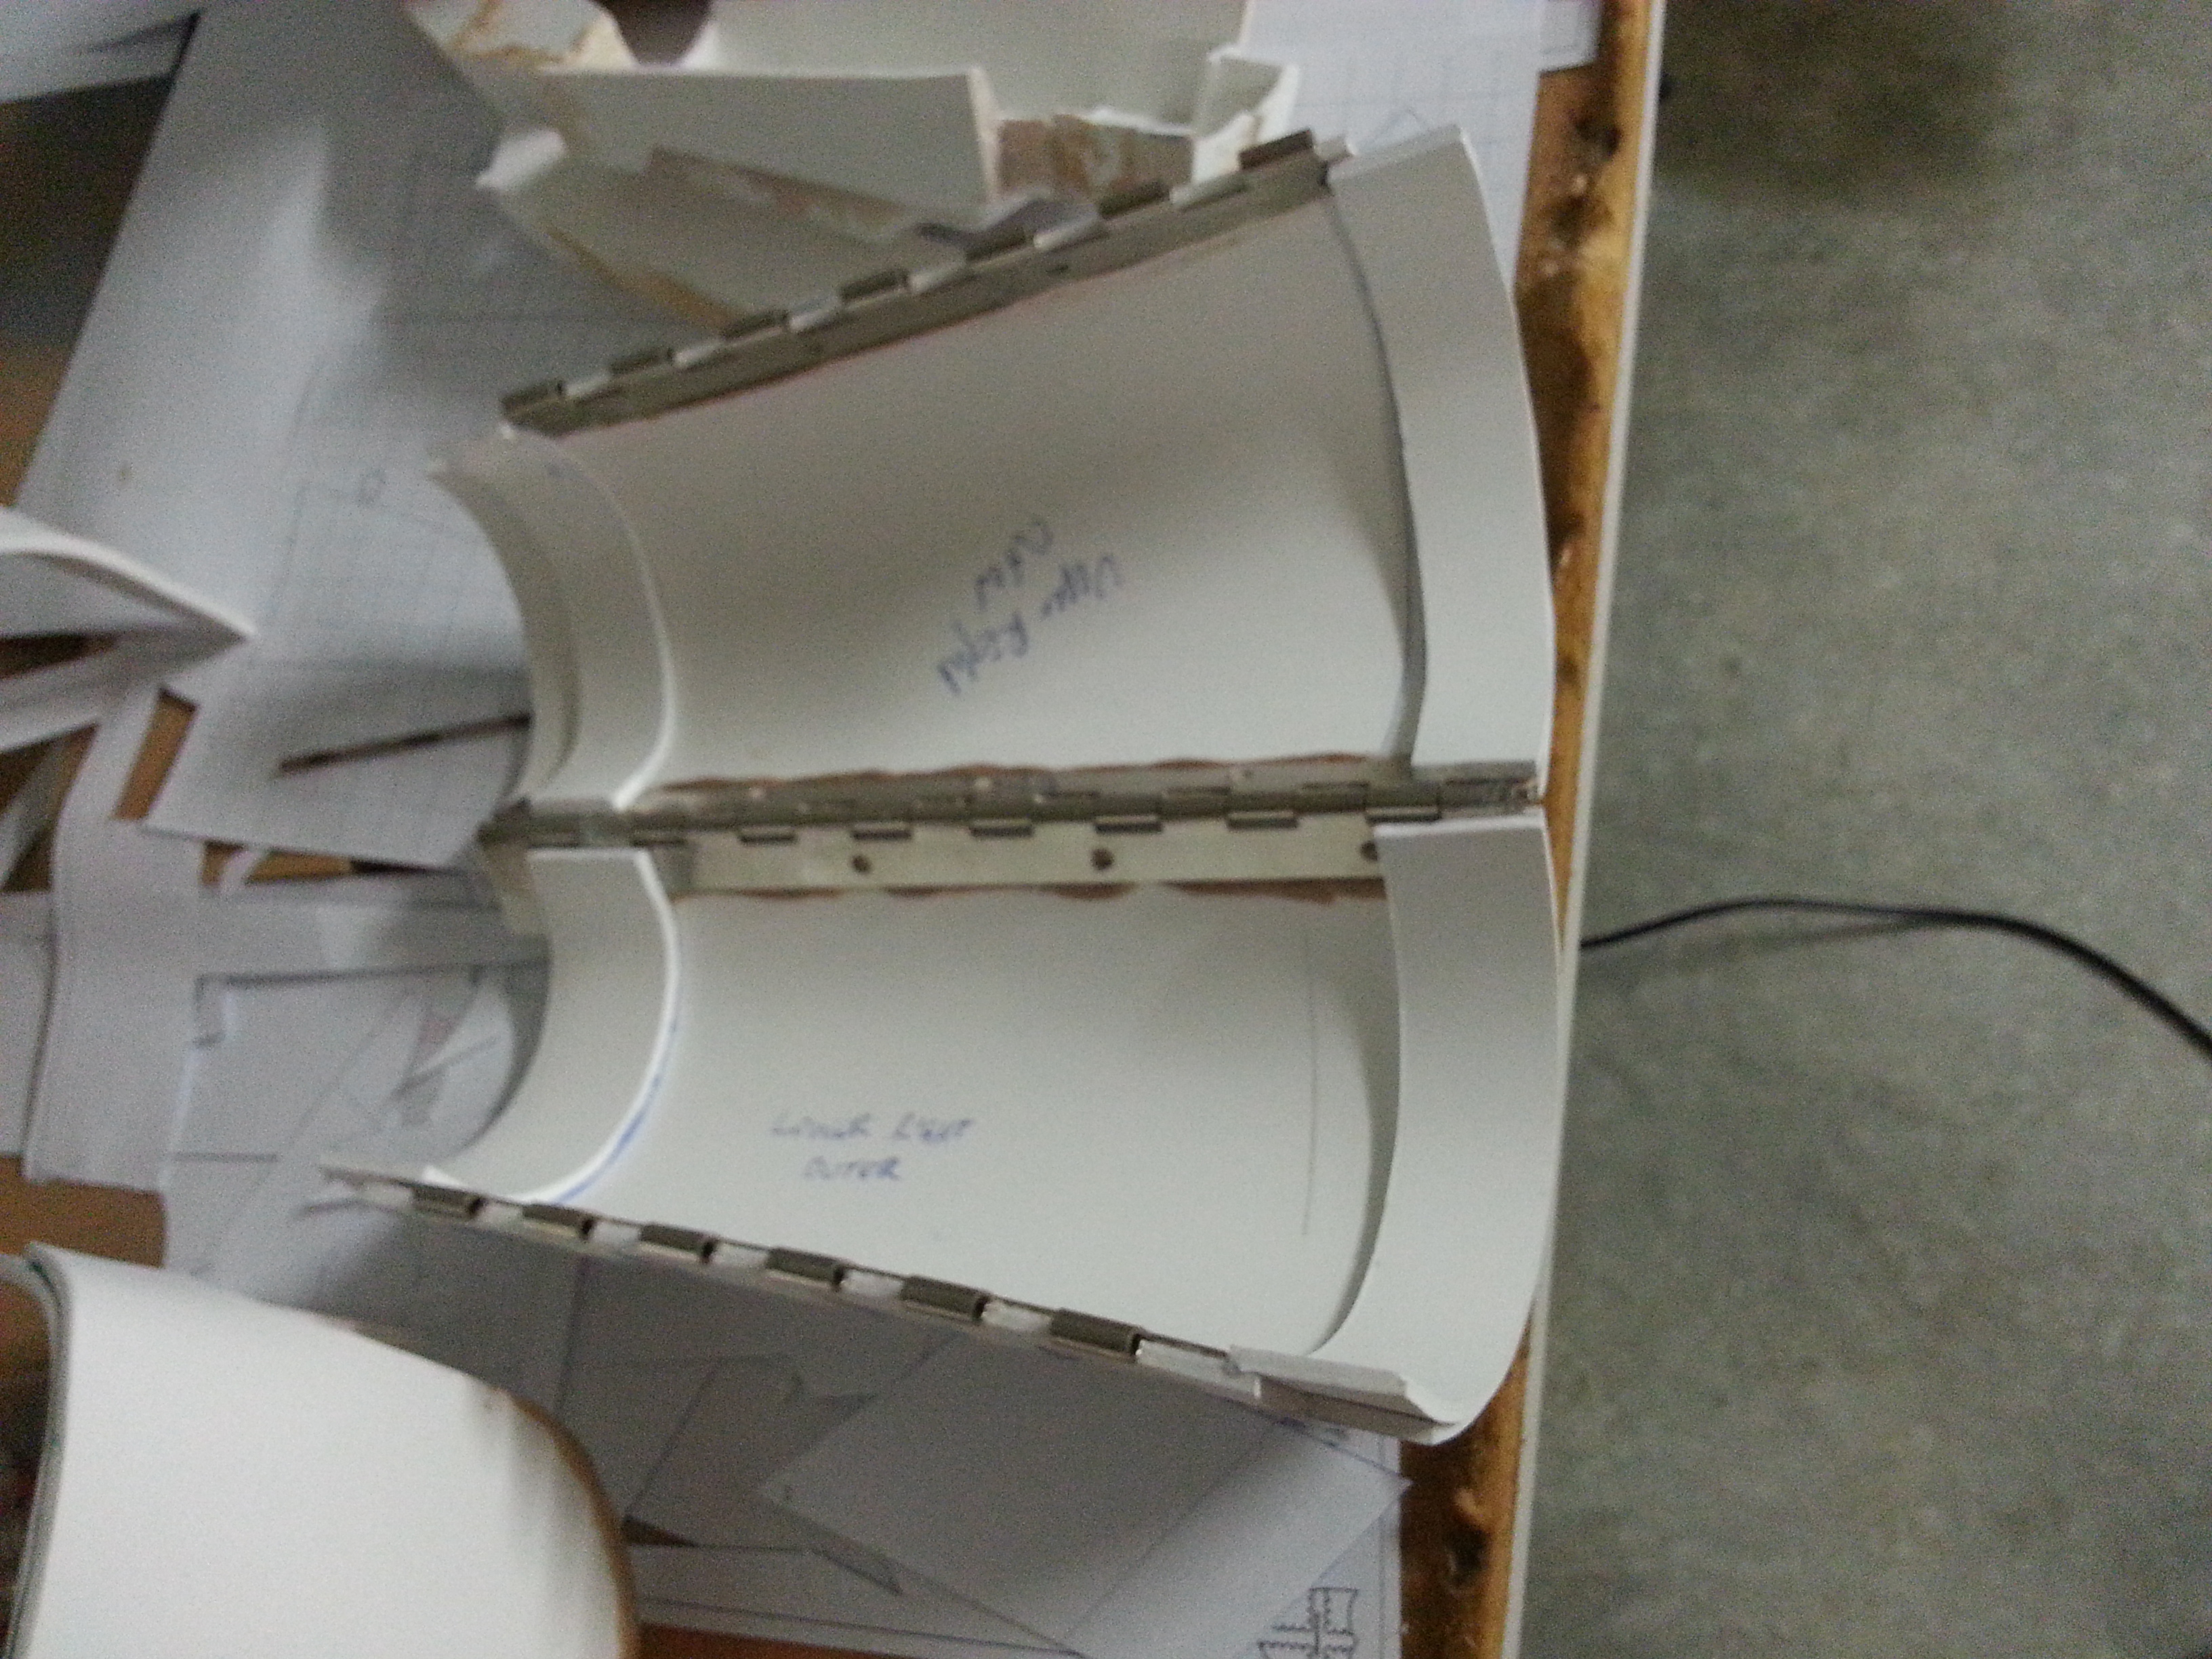
One side of the hinge is permanently in a hinged state whilst the other I can push and pull the rod in and out of it, providing me with a way of getting the gauntlets on and off. By making the inside hinge removable, it was reasonably easy for me to put them on and take the off myself. Later in the article, I will show some photos of how this achieved.
With the main arm gauntlets done, it was time to build the weaponry to put on them. Once again this was just straight forward cutting of shapes from the templates and gluing them together, and again I forgot to get some shots of this process, but I will show you later when they are painted.
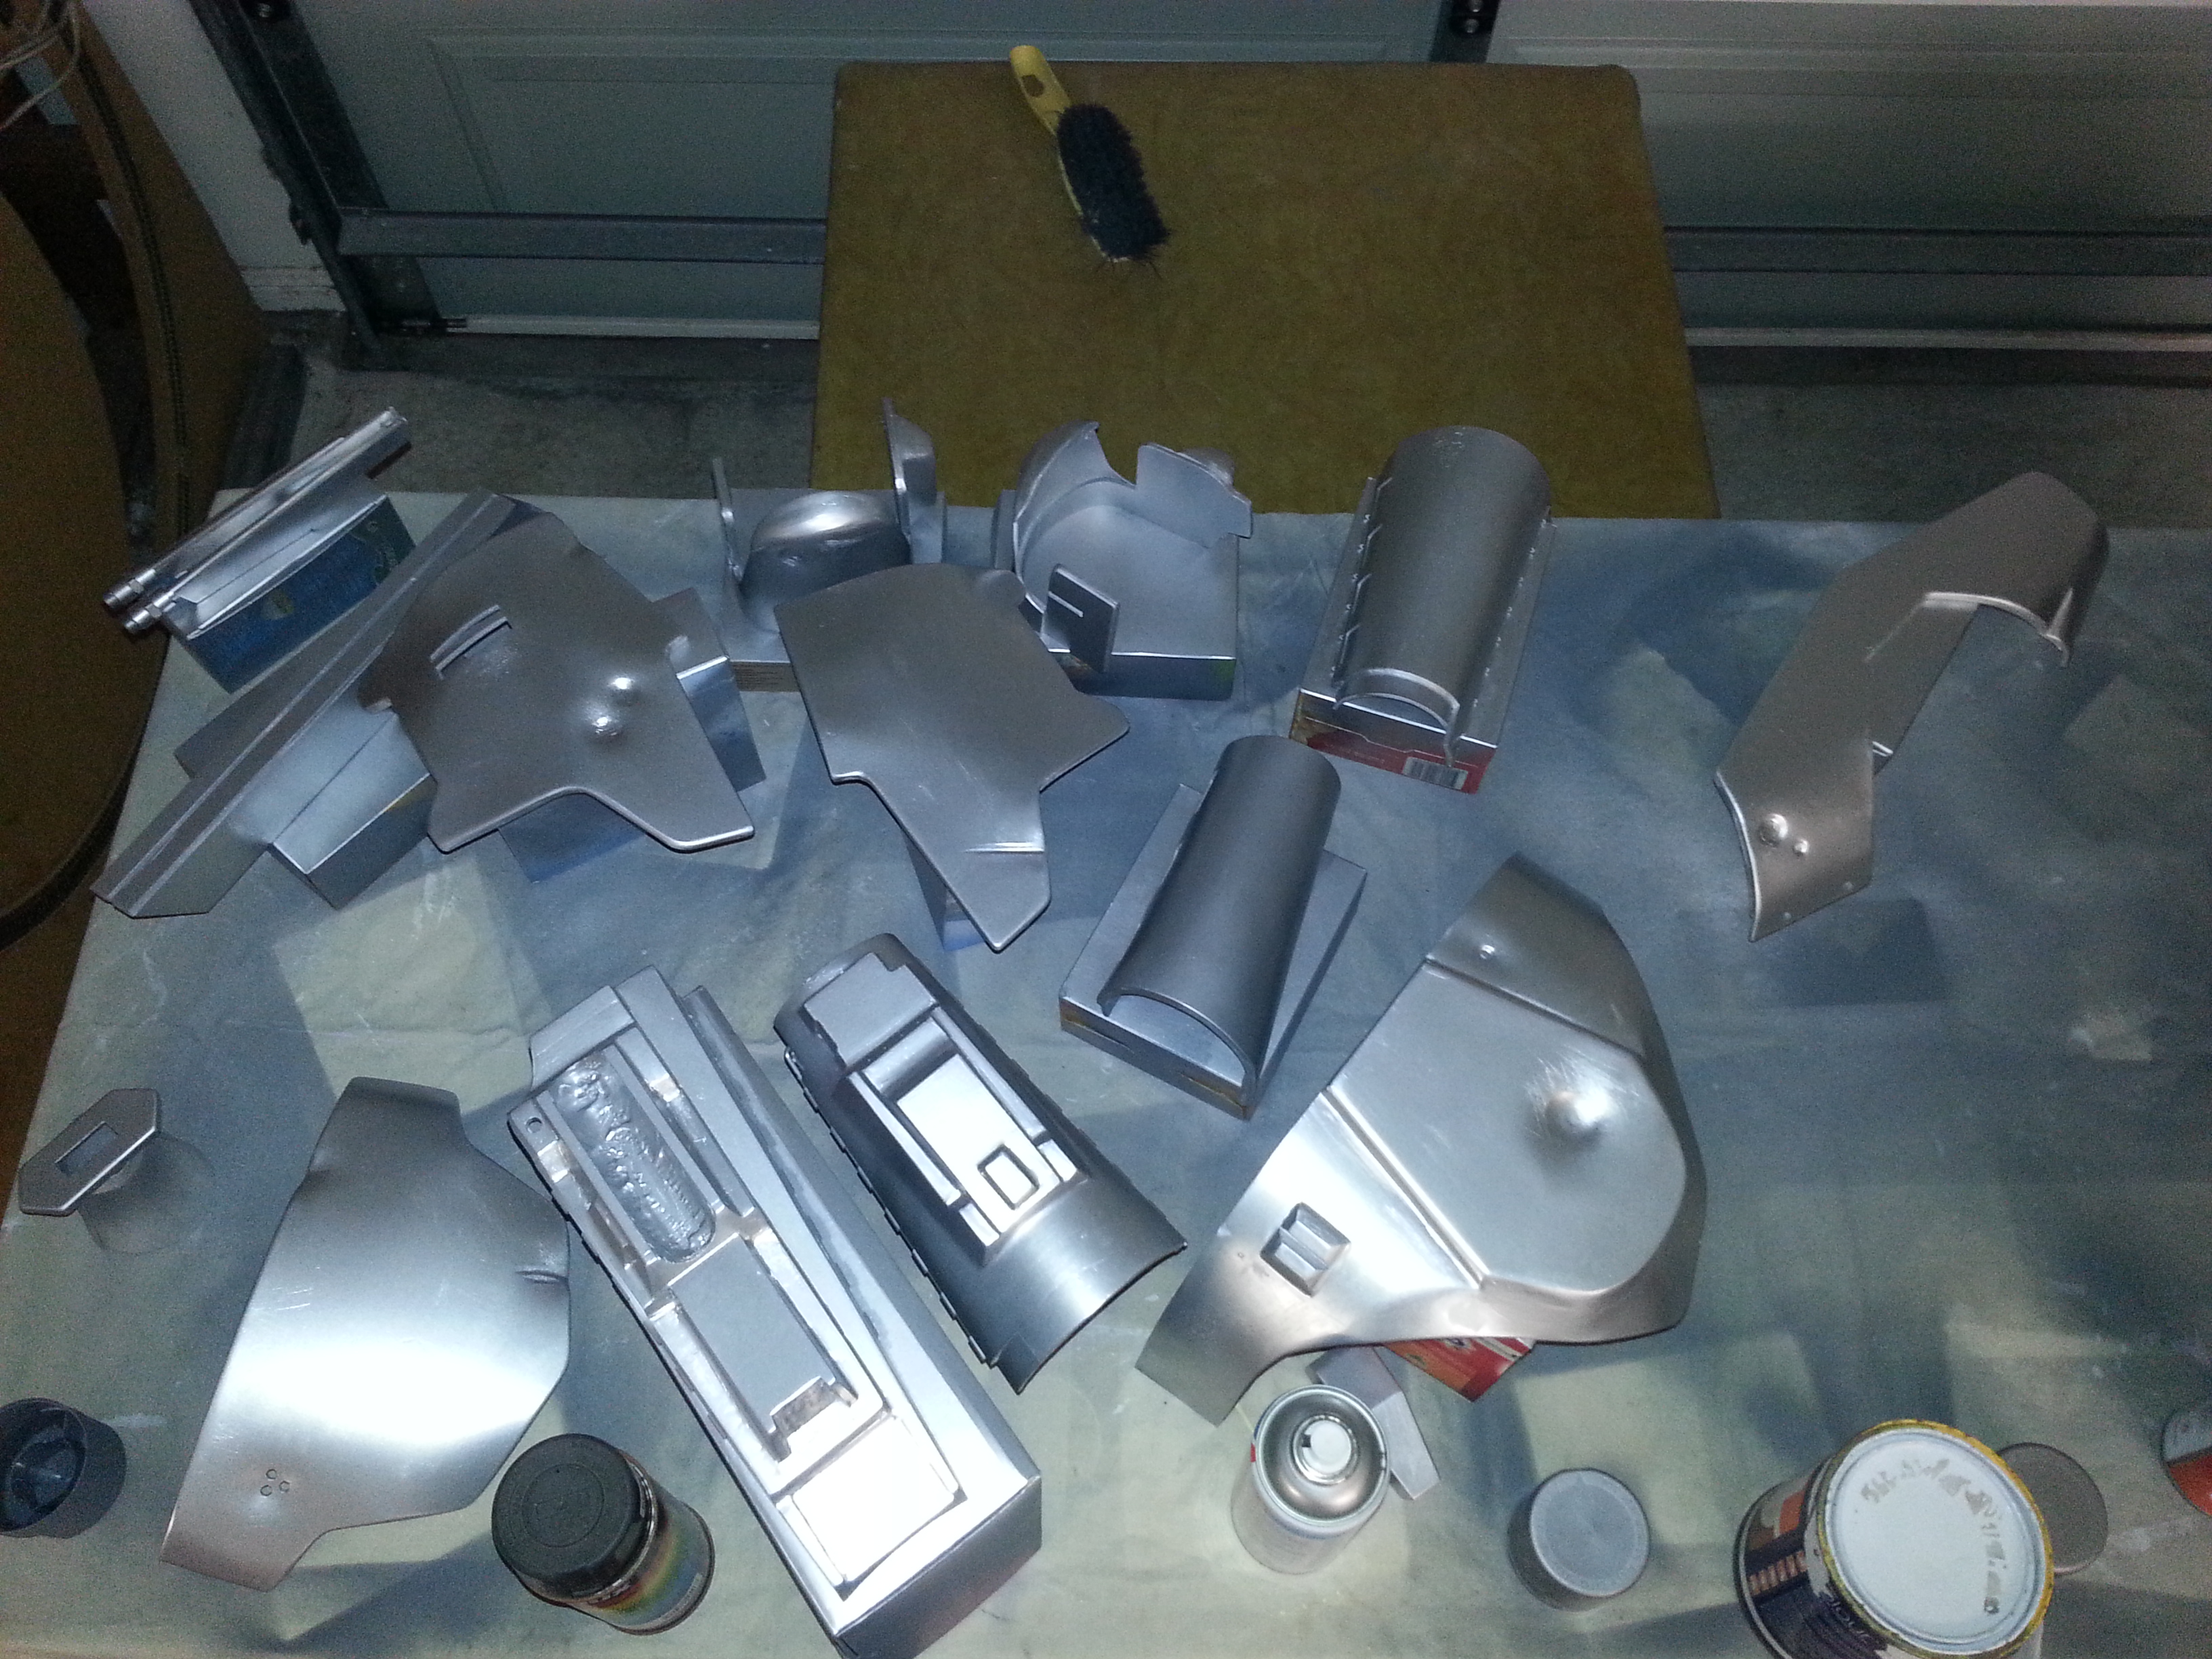
The rest of the armour was similarly done by using the template to cut out the shape of the part, heating it up with the heat gun and bending it around a curved jig, the jig being mostly myself for some of the pieces. In the picture below, you can see the gauntlets with the weaponry attached, the front body armour, shoulders and knee armour. To create the dents, you just heat that particular point and use a tool to push a shape in to the foamboard.

So, above you can see all of the front body armour, knee armour, shoulder armour, and some of the gauntlet weaponry has been added. Next to be made is the back armour, and this by far was the hardest piece to shape because it had be shaped in 2 planes.
Here is the final back armour. It took several goes to get the shape even close.
OK, with most of the armour done, it is time to paint.
With so many flashing lights and electronics on the chest, gauntlets and helmet, I wanted to find a way to power them all, without having to resort to using batteries everywhere. I realised that having a single source of power for all of the functions of the suit was possibly a better option. A 12 V SLA battery to power everything was the go, and I would put that in the Jetpack. This would power the LED displays in the gauntlets, helmet and chest armour (and potentially anything else that needed power like suit sounds and a mic and speaker).
So, with the armour painted in an aluminium colour from a spray can and ready for the acrylic paint, it was time to get back to the interesting parts of the gauntlets and finish them off. On the right hand gauntlet there is a space for the keyboard of a Casio MQ-1 calculator. But I didn’t feel the need to go full authentic, especially when they are rare. So I built my own from the foam board.
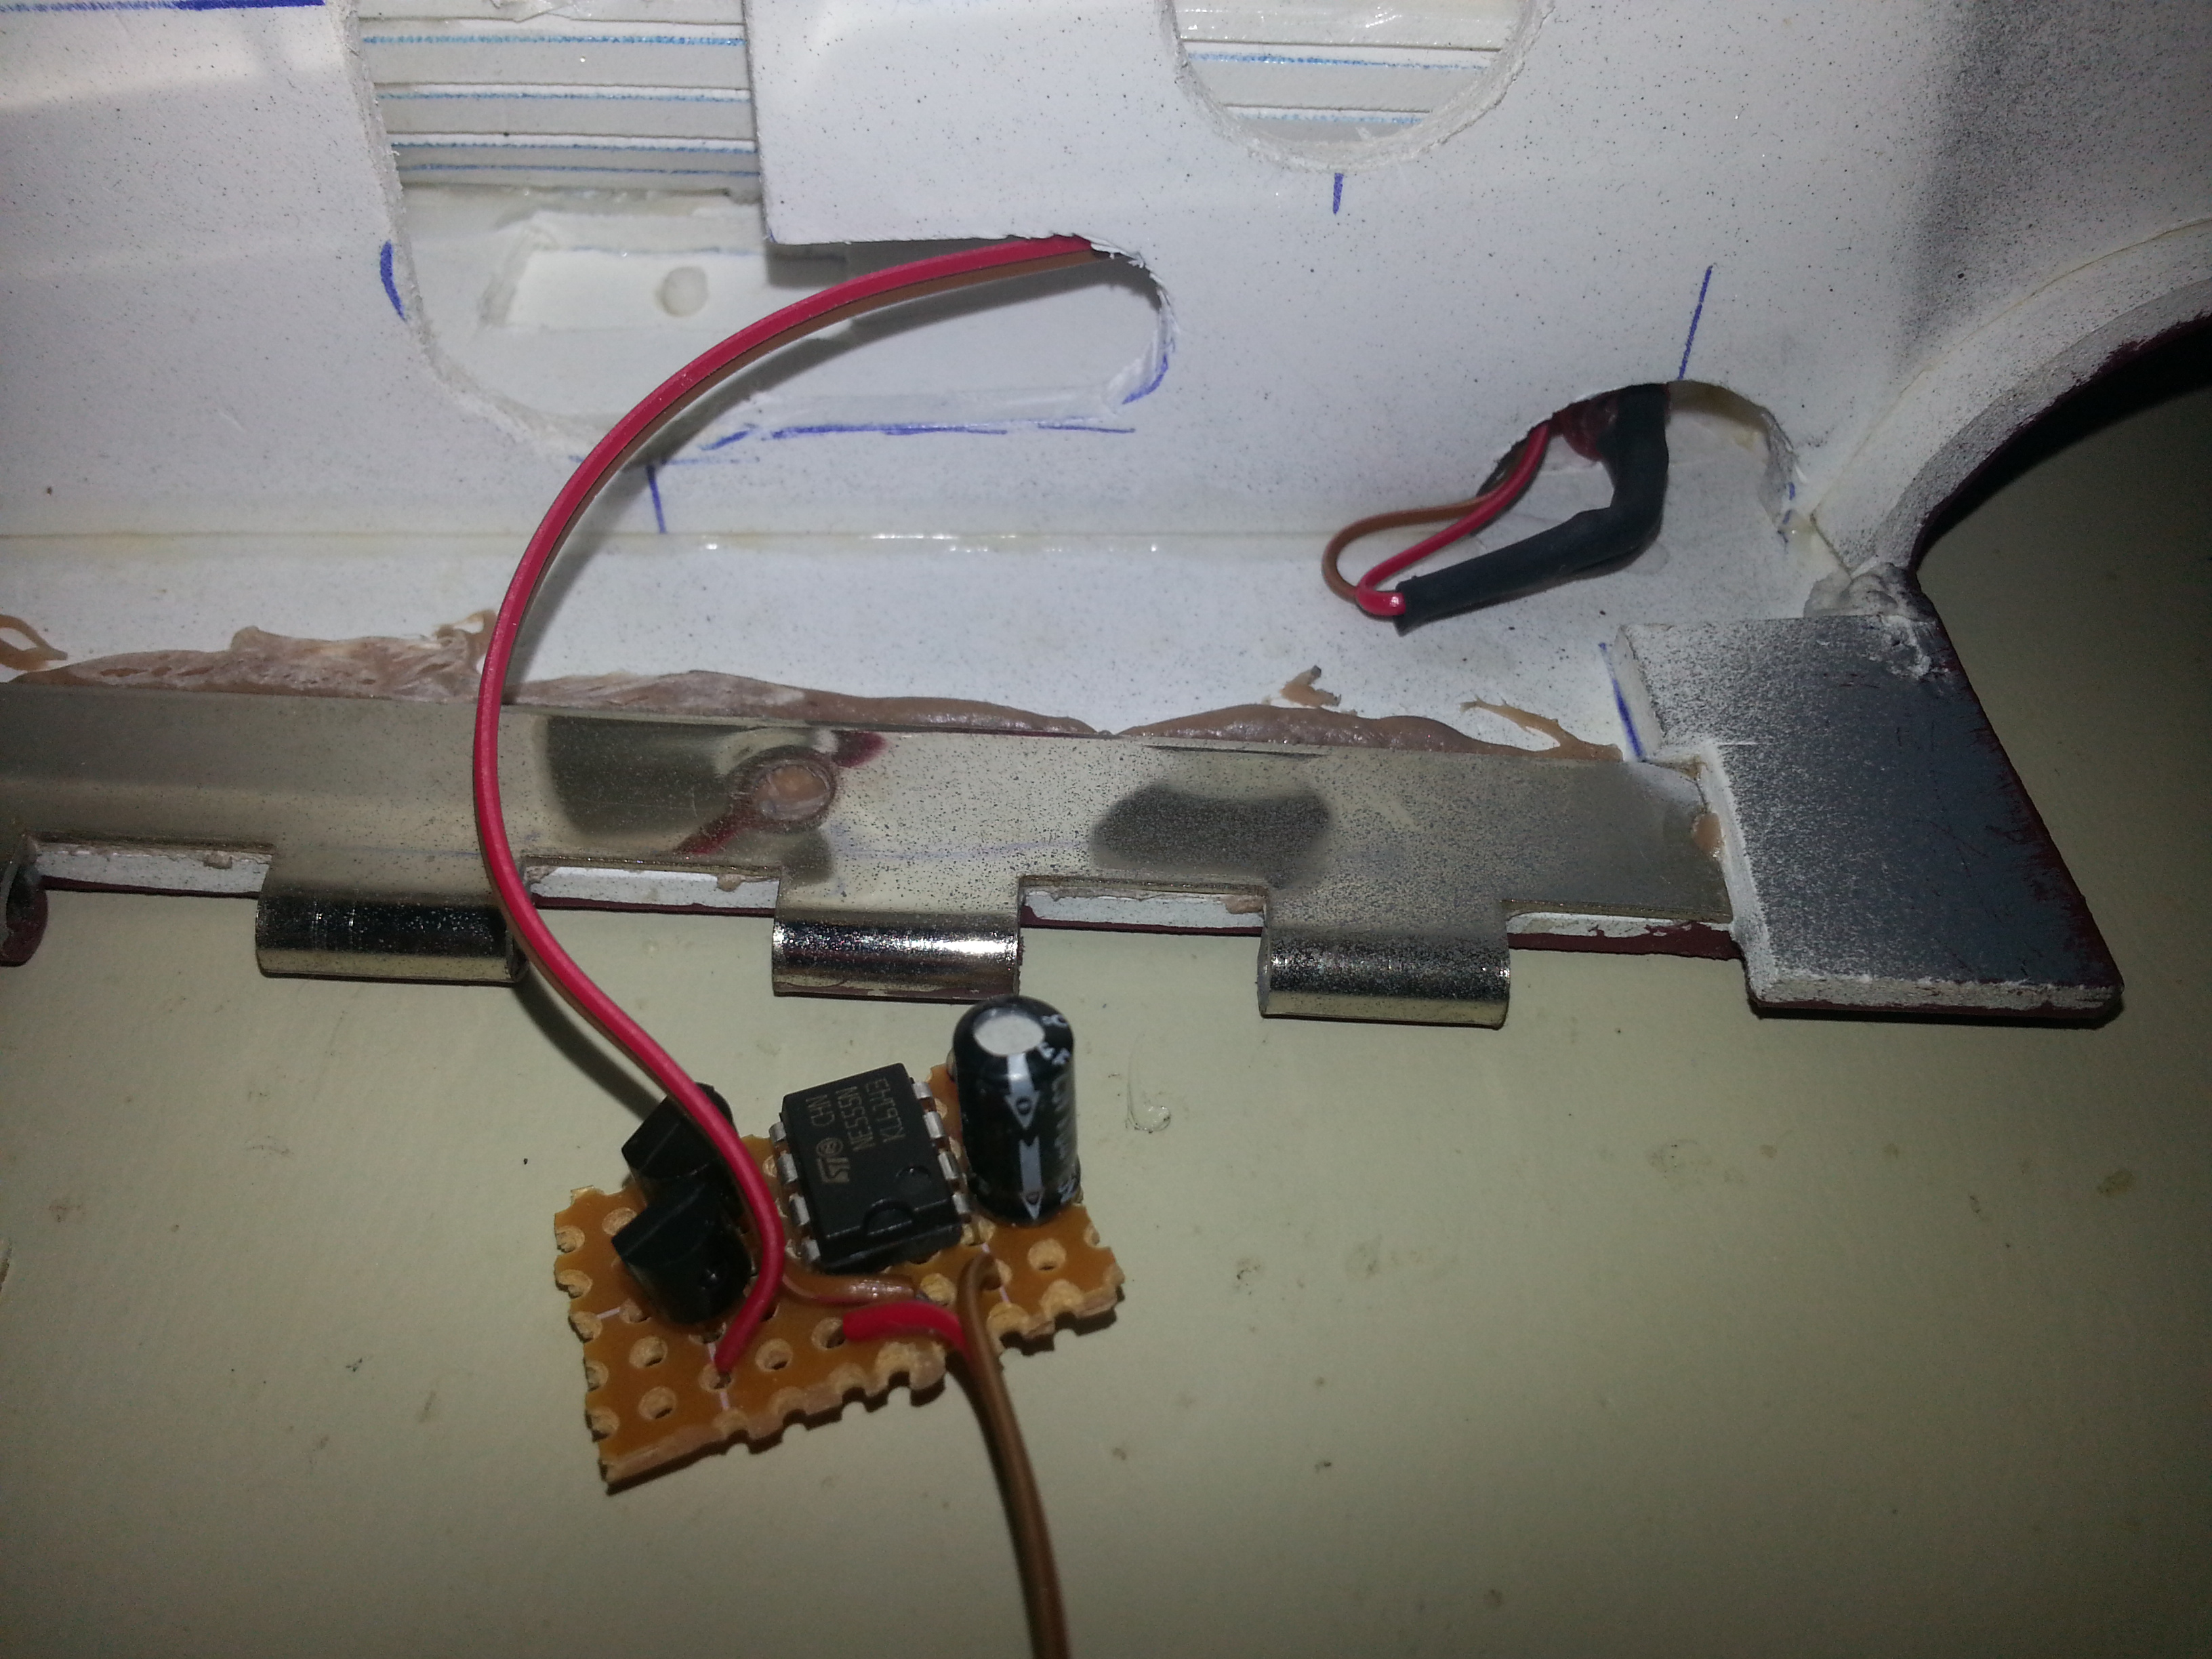
Also on the right gauntlet, I needed to get a flashing light on the inside edge. This wasn’t any ordinary flashing light. It needed to be a light that faded on and off. A bit of a search on the internet found this and it did what I needed it to do.
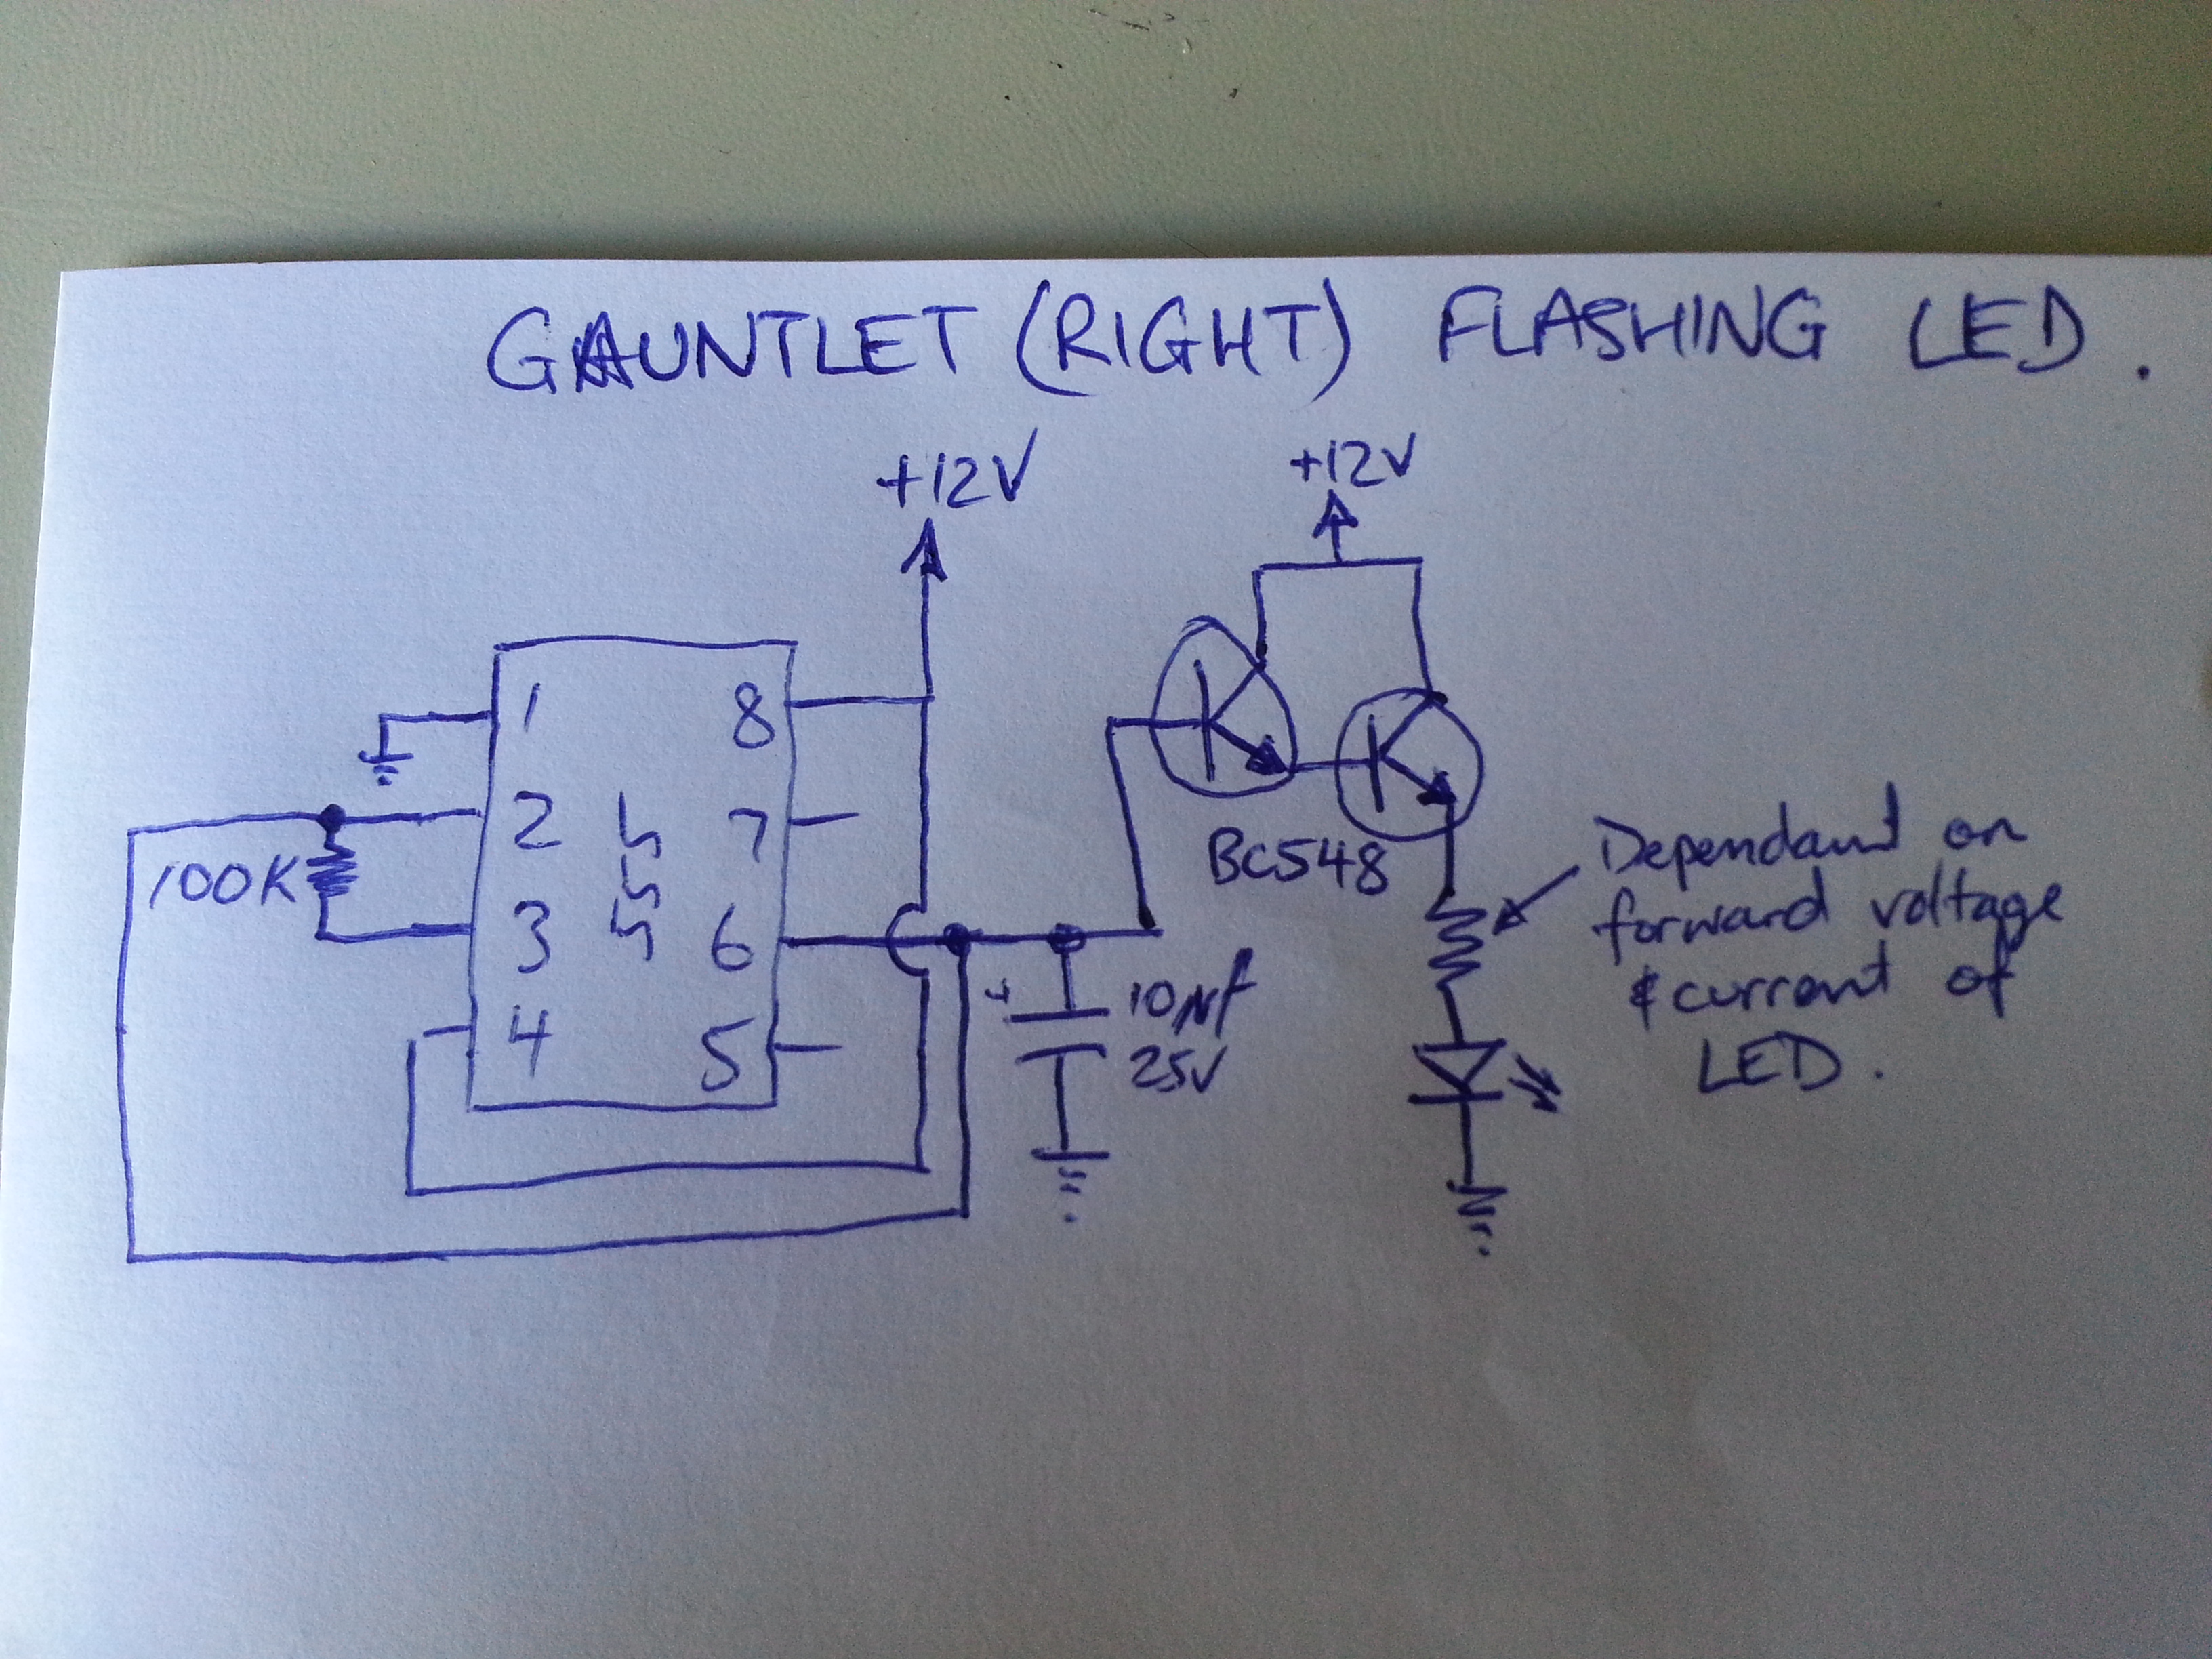
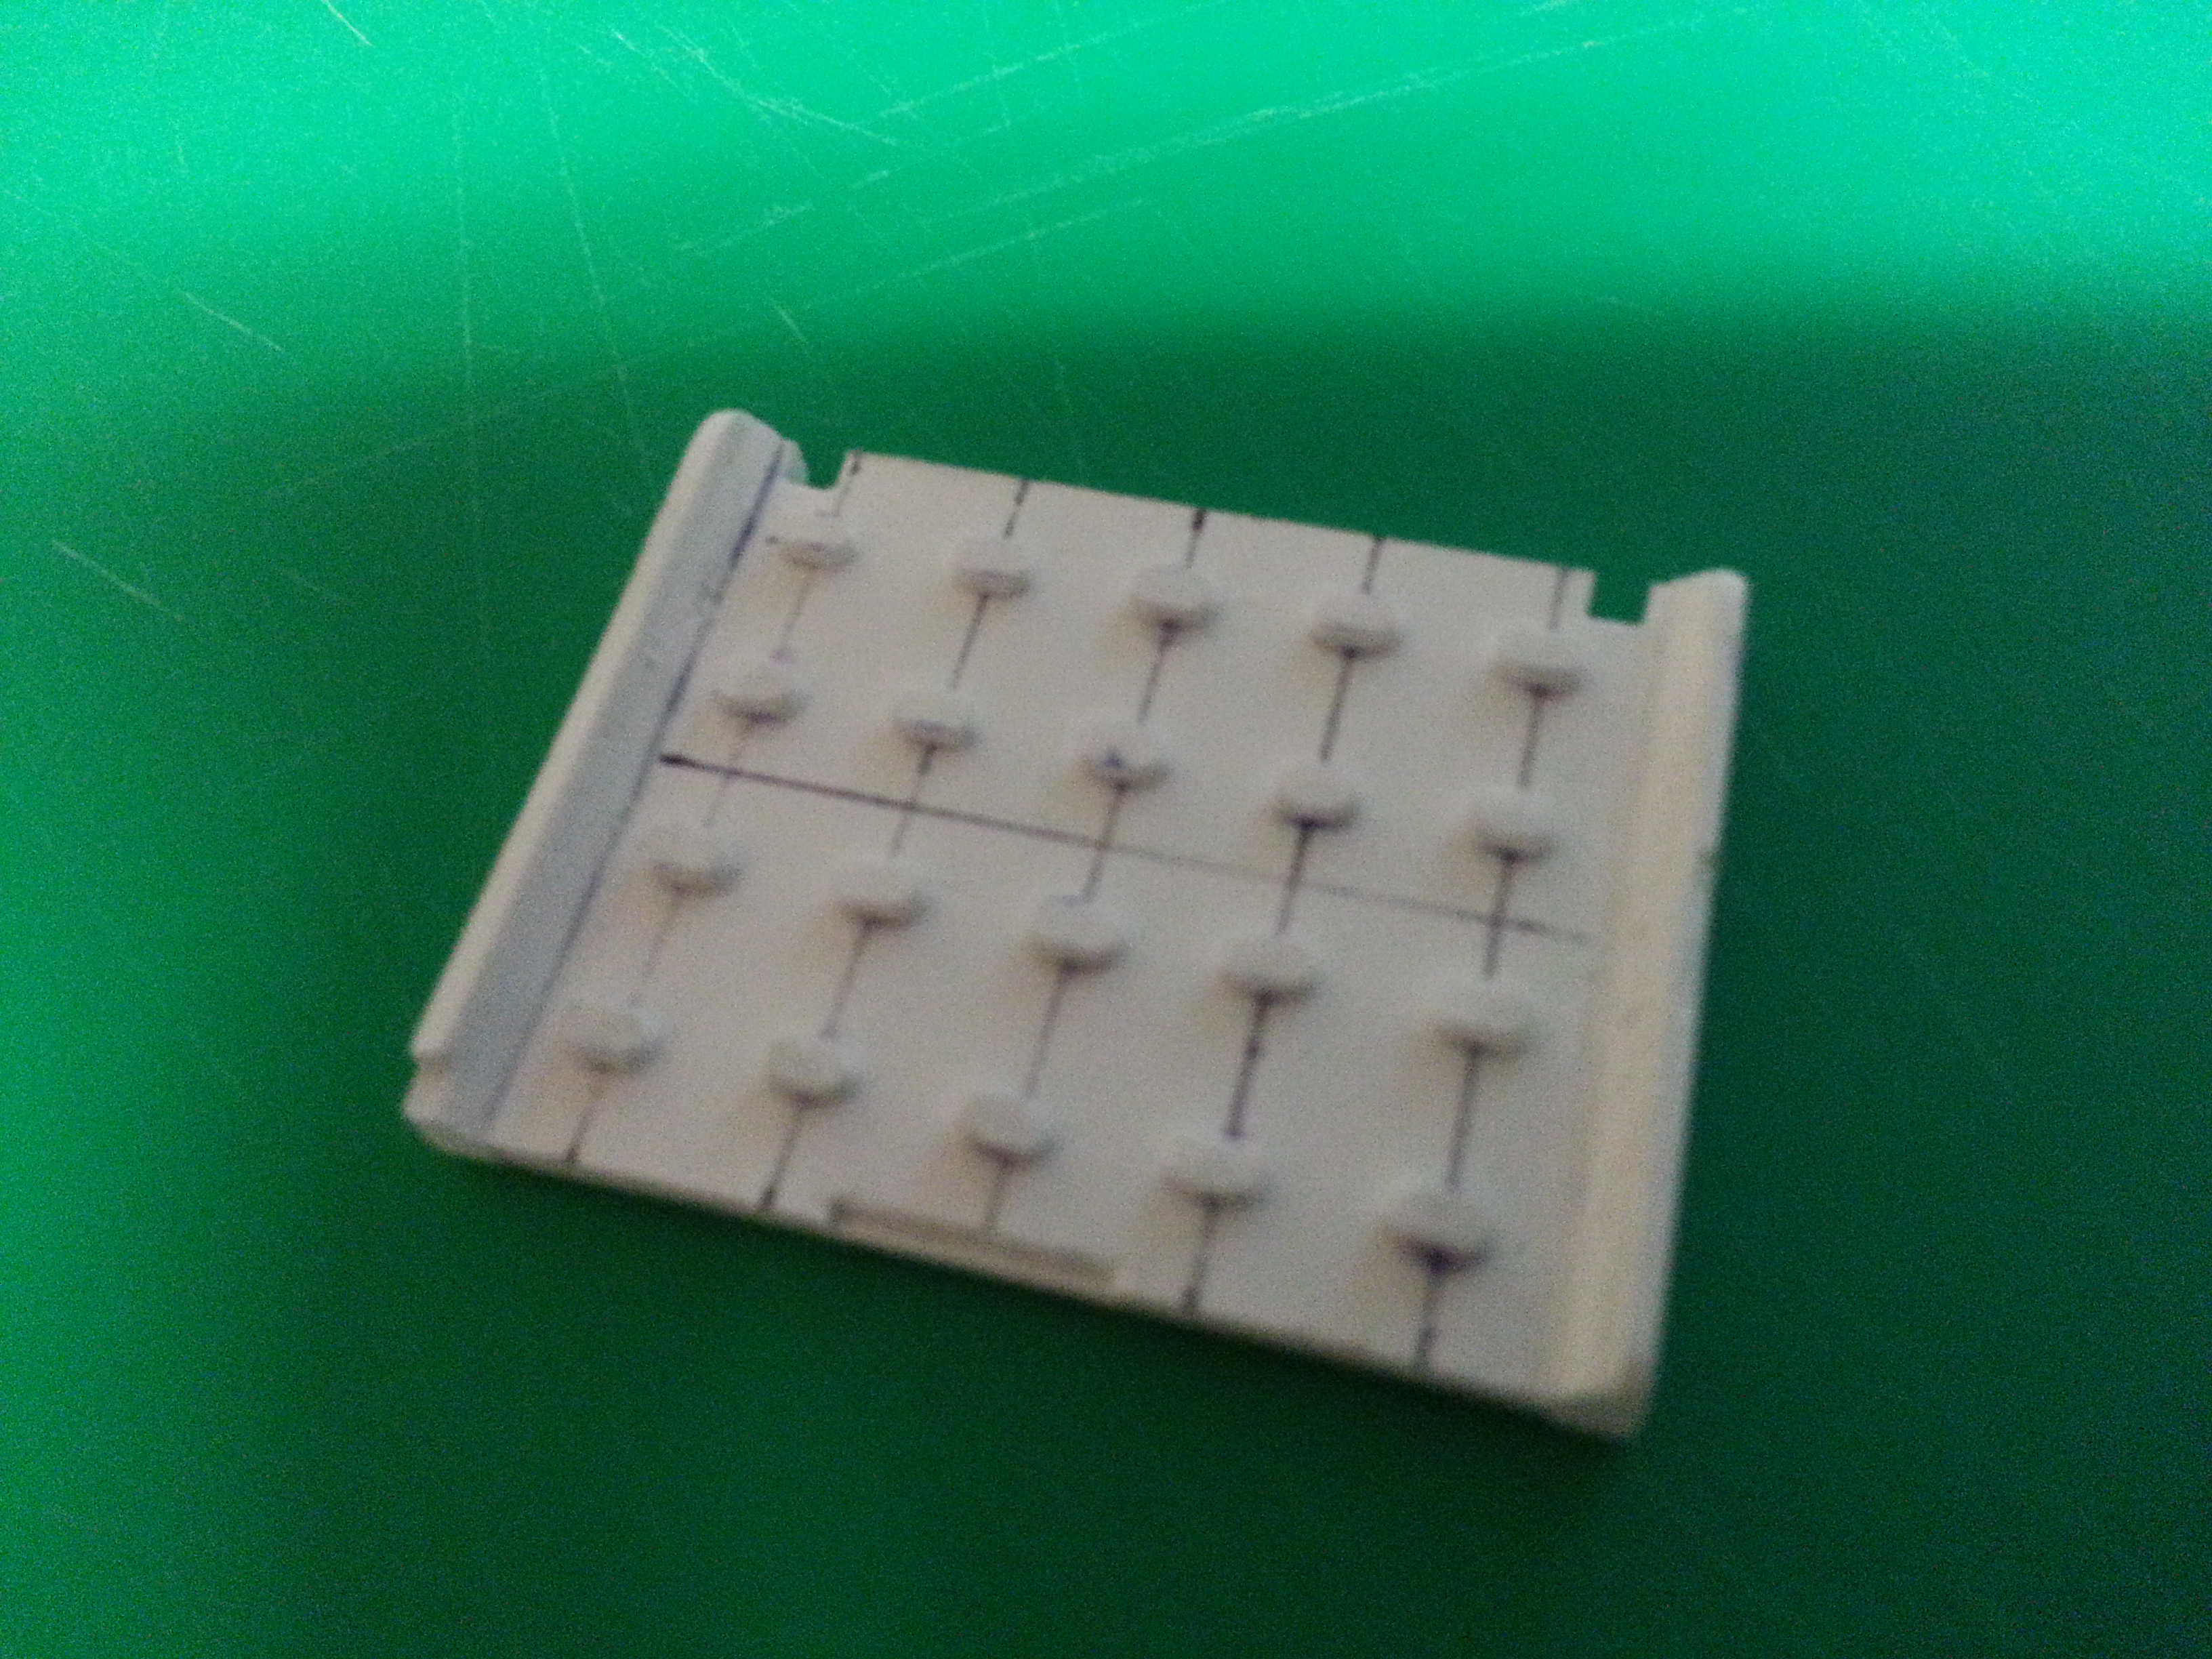
This circuit gave the LED the appearance of fading on and off at the correct speed. I built this up on a small piece of veroboard, so I could just tuck it away in the gauntlet somewhere.
In the next part, we paint our armour parts and I will create more of the LEDs and electronics for the right gauntlet and chest armour.