
I thought I would take a break from developing my ECB2650 retro computer to build a Retrobrew Computers SBCV2 Z80 system. All of the features are listed on the Retrobrew Computers website, so I won’t list them here, but they have certainly packed a lot of capability into a Eurocard size. I have had this computer on my build list for a very long time and finally amassed all of the components needed for the project.
I wanted to build this particular computer so that I would have a z80 computer running CP/M to play around with, but also to be able to test one of their ECB Disk I/O V3 modules. The Disk I/O module allows floppy disks and other IDE style disks to be attached to the system. Once I have verified the Disk I/O V3 is working properly, I can try integrating my ECB2650 design with the ECB signals and use the Disk I/O V3 module (and other Retrobrew modules) with it (I hope).
So, onward with the build of the SBCV2. The current boards available are a revision 3, not that I could confirm that by looking at the board, but a clue with some errata on the Retrobrew Computers website has led me to that assumption. I’ll get into that a bit later. I managed to buy one from another Retrobrew enthusiast here in Australia. Thanks Phil.

I usually start with the IC sockets as they are the lowest profile components on the board and so will make soldering easier. I’m using the round machine pin style sockets for all the ICs and oscillators.

Next I installed the bypass capacitors followed by the resistors. After that I installed the high profile components such as the electrolytic capacitors, jumper blocks, headers and the LED. Finally the ECB plug which was 96 pins. I won’t bother installing the power plug as I will be using this board on the ECB 8 slot backplane and not standalone.

Before we get too carried away with inserting all the ICs and powering up, we should do an inspection of the board and soldering quality. First let’s check that we have our components the correct way around, and inspect our soldering effort under a magnifier lamp, followed by some basic multimeter testing to ensure we don’t have any major shorts. I thought I had been quite diligent in my soldering effort, but I found 2 pins that I had missed and a couple of dodgy joints which got touched up.
OK, all looks good. Let’s just power it up unpopulated to make sure none of the capacitors decide to fizz and launch themselves from the board.
I noticed some errata for the board on the Retrobrew site for the SBCV2 so that the Kontron reset functions as it should. So I proceeded to implement that. It requires a wire from the K13-pin3 to P6-pin2.

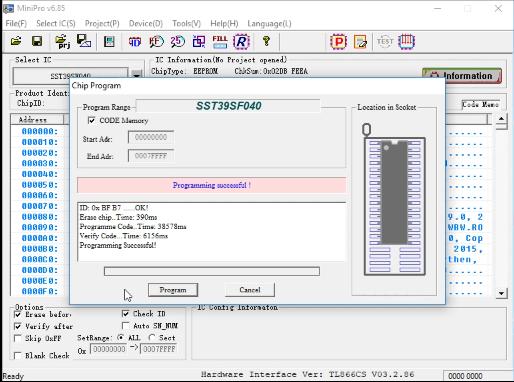
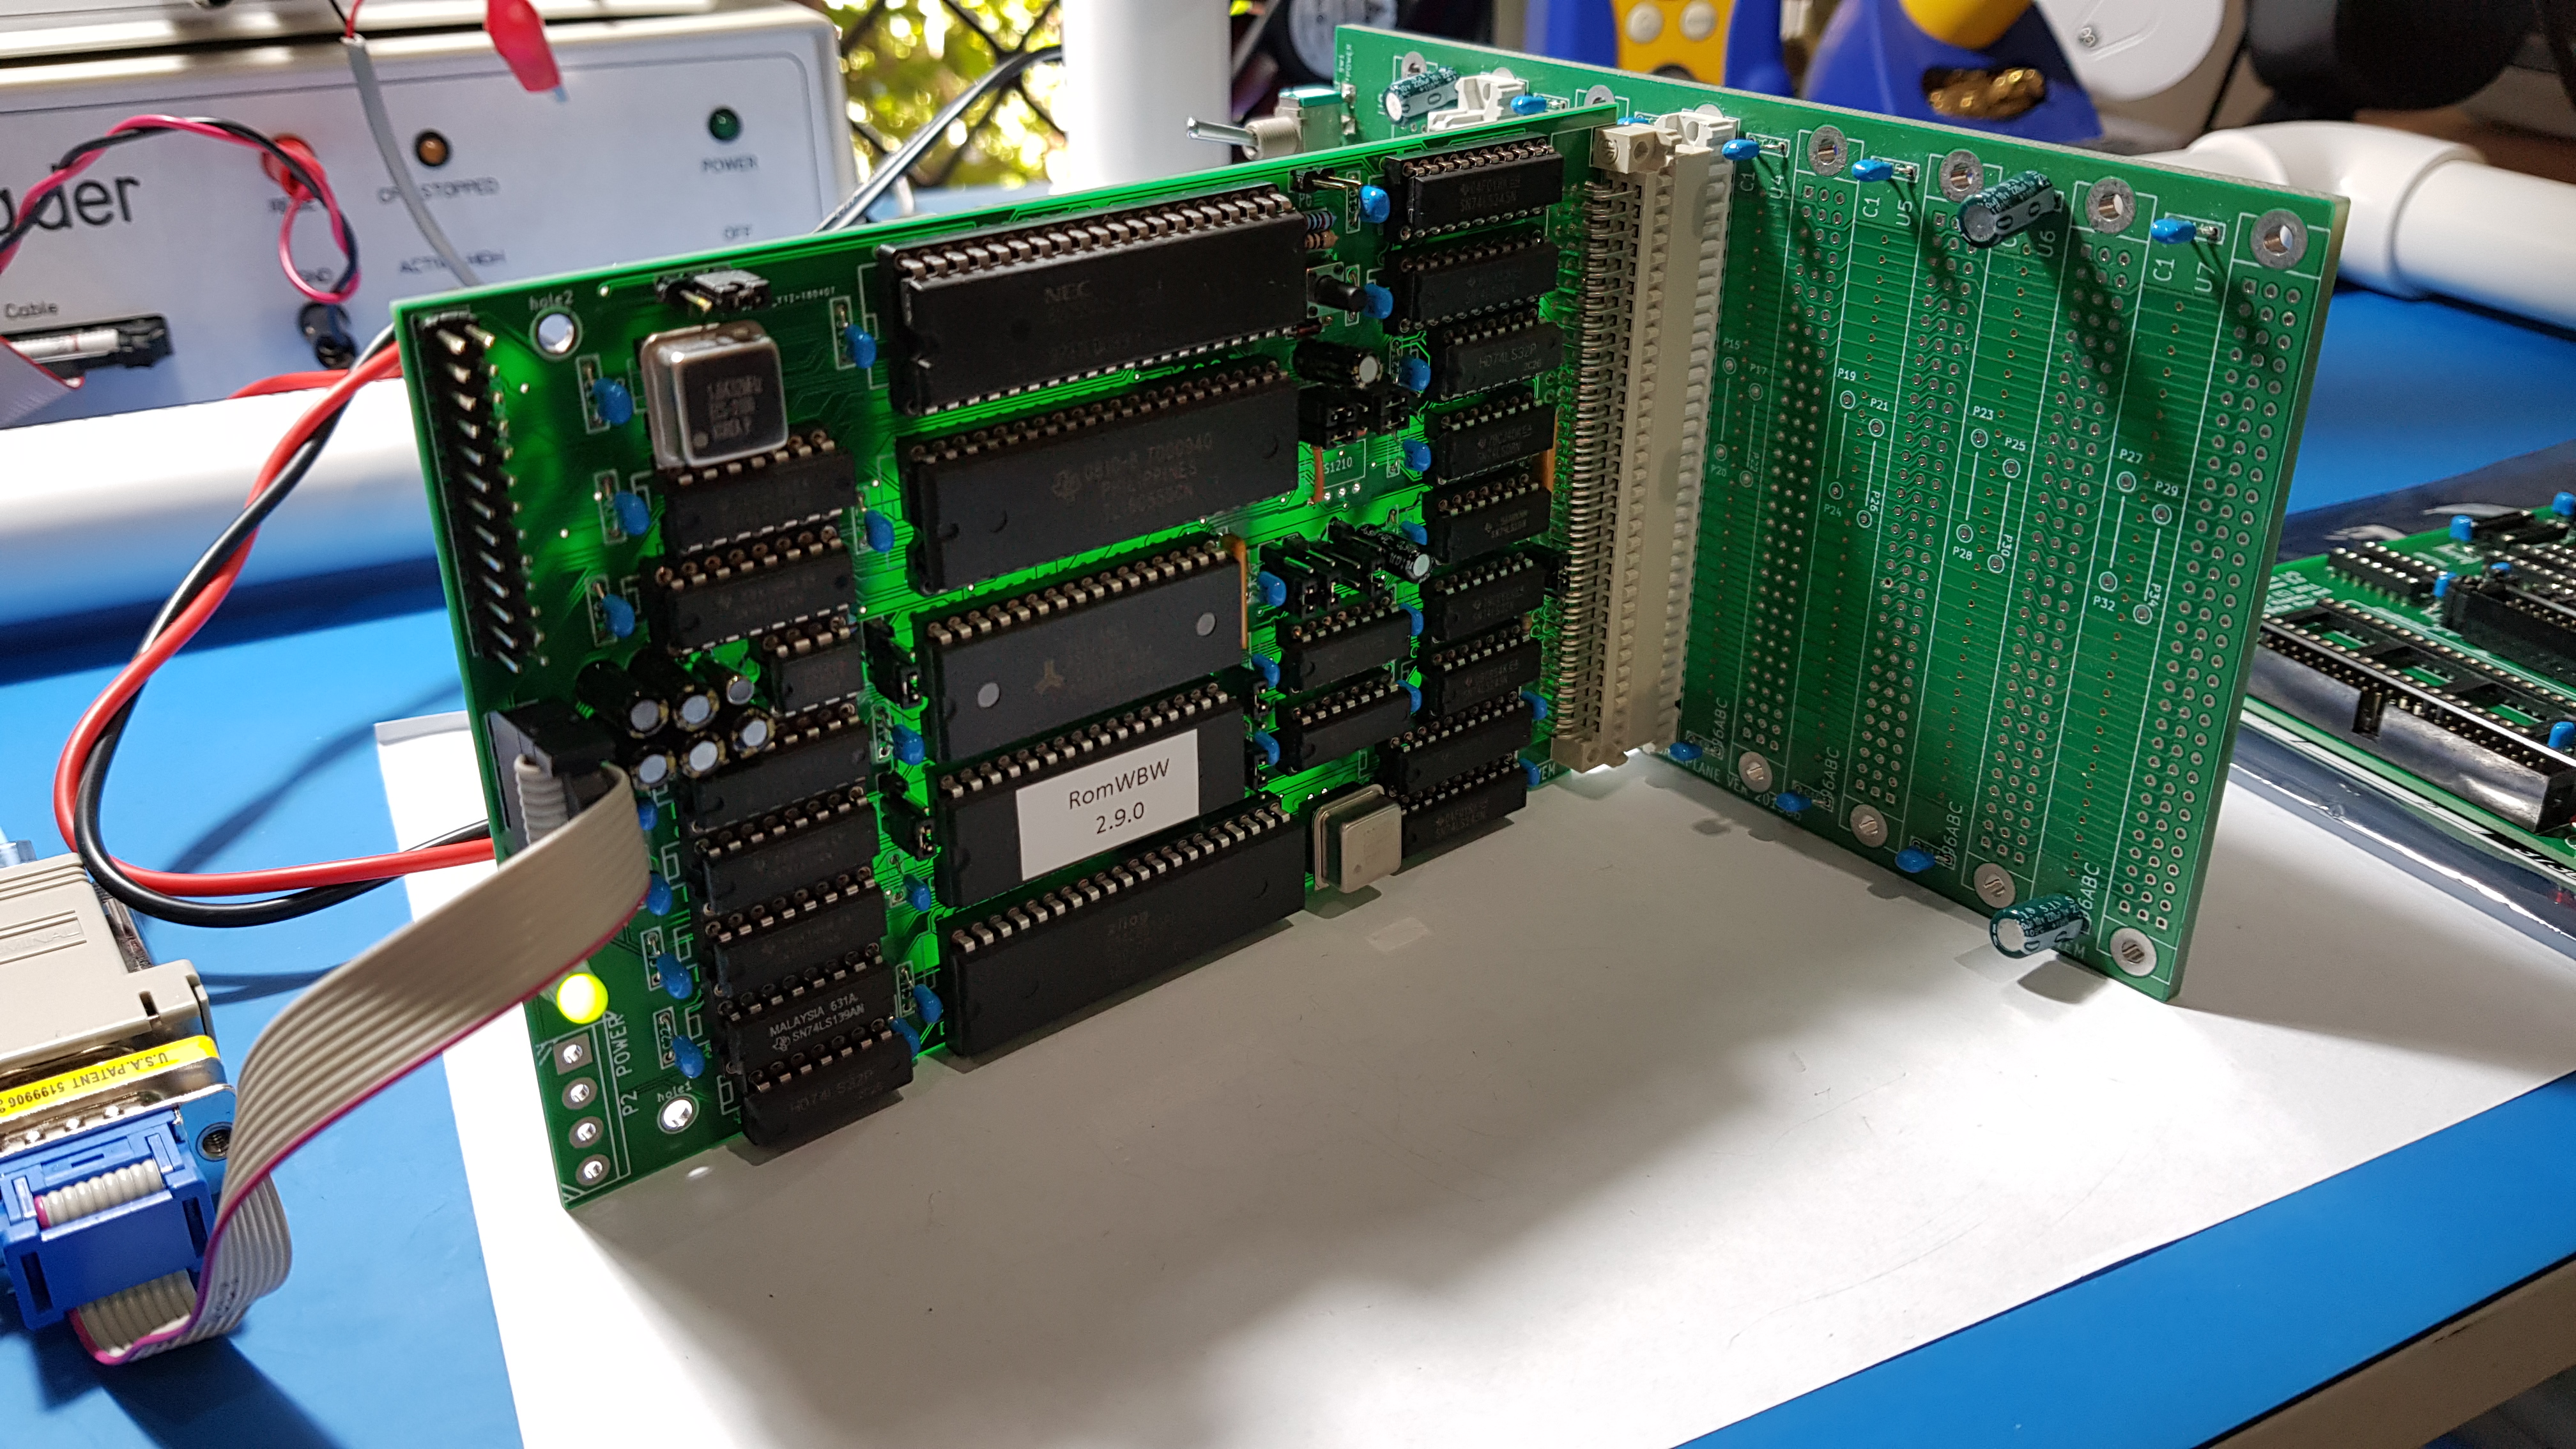
With everything checked out and no apparent shorts, time to program the FLASH. For the first tests to ensure it is working, I’m just using the standard ROM from the RomWBW V2.9.0. This will give me some confidence and test out the main functions of the board.
Right, let’s pop some chips in, connect it to the backplane and cross our fingers when we turn it on.

You can watch the build process here https://www.youtube.com/watch?v=gXUt_EX-eo0
Next, we will finish the ECB Disk IO V3 board and test it out with the SBCV2.