
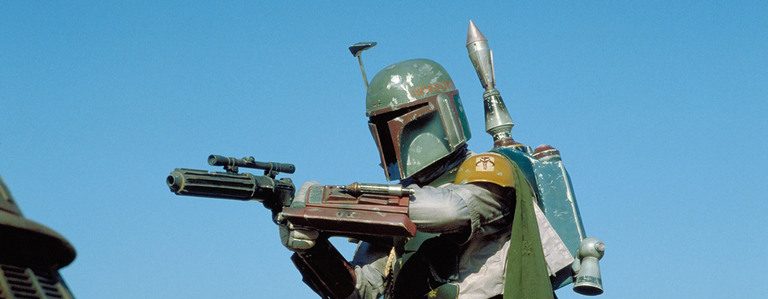
I am a big fan of the bounty hunter, Boba Fett, from Star Wars and was keen on having a go at making the helmet (or bucket as it’s referred to in the community) for a mask party. Thanks to the resources found at The Dented Helmet and others on the internet, it looked quite easy to knock one out, especially when a chap by the name of Alan Sinclair had already gone to the trouble of designing and drawing up plans to make several parts of the costume.
Whilst I can build things given a plan, I am by no means any good at painting the final product, so I was going to be happy with whatever I could produce at a reasonably low cost. Thanks to Alan Sinclair who posted his fantastic plans for the community to use.
There are several options for designs of the helmet due to paint and other differences between the different movies that our bounty hunter stars in. I settled on the design from ‘Return of the Jedi’ or ROTJ for short.
For my first go at building the helmet, I used a cardboard material called straw board here in Australia. It is cheap and the right thickness for this project, so it is good from the stand point that if i bugger it up, I can throw it away and start again. For the glue I am just using plain old interior Aquadhere, or craft glue.
To start with I printed out the plans at a scale that I thought should fit my big boofy head and then cut, and spot glue the plans to the straw board. I got so into this project at the start, that I forgot to take some pictures of how the petals and frame went together, so images start with that part of the build done.

The dome of the helmet is made from petals (for want of a better word) of cardboard glued to an inside frame and joined at the top. The idea here is to get the basic shape of the bucket by following the plans, and Alan has done a fantastic job of getting the look and shape right. To get some of the petal shapes and curves to cooperate and bend a little, I used a some water on the cardboard to coax it into the shape I wanted, and then let it dry.
The parts actually went together quite well and the thickness of the straw board was perfect.

Next I cut out the cheeks and rear grill from the main frame and glued in the proper cheeks and grill parts. This took a little bending to get the shape for the cheeks as you can see from the crease marks on the strawboard.

Once that was all in and dry, I started with the filler to get the shape of the dome right. The filler I used was just a normal plasterboard filler. A lot of sanding and filling to get the dome shape and other parts looking good.


OK, while all of that is happening, I move on to the ears and rangefinder.

The ears were made up in layers of strawboard to get the right shapes and angles needed for the parts. I made the stalk of the rangefinder hollow so I could pop some wires in it before I glued it together. I did this to build in some flashing LEDs for the top of the rangefinder itself.

More filling and sanding to get the ears and rangefinder components ready before fitting them to the helmet.

The ears were attached and the visor cut out before it’s ready to be painted. The final helmet is quite fibrous due to the straw board, so once sanded, I coated it in a couple of layers of estapol (craft glue would have probably done the same) to stop it looking like a wookie helmet, and sanded again.

Once the estapol dried, it was time to give it some colour. I decided to try and use a spray can aluminium undercoat to make the underneath look metal as it would for a real helmet. The idea is to paint over the top with an acrylic paint and scratch away at the sections that needed to show the metal. After all the real helmet looks like it’s been through a rough time anyway, so a little roughness here and there is only going to add to the look of it. I’m not sure if it will work, but I will give it a go.

While that is drying, it is time to figure out what I am going to do with the LEDs in the rangefinder. I found a quick little flip flop circuit online here, to give the flashing light effect that the rangefinder displays when in the down position. I intended to use a mercury switch to detect when the rangefinder is down and switch the circuit on.
 I got SimmoCAD up and running to layout the circuit design as small as possible, and then mounted the components on a bit of perfboard.

The circuit and 9V battery will reside in the helmet itself near the rangefinder earpiece. I wired up the rangefinder to the LEDs and it’s ready to be mounted on the helmet.


OK, time to try and get the right colour paint and paint of the aluminium dome with acrylic paint. I got some tester pots of paint to try the colours and I think I got close.


At this point I’m starting to run out of time for the mask party, so the paint job will have to do for now. It’s obviously a long way away from looking the part, so I will have tho finish it properly later. Time to start puting the rangefinder and other components into the helmet.

The rangefinder pivots from a vertical position to a horizontal one just in front of the right eye. I will just manually move it up and down to show off the flashing LED effect, but some sort of servo system would be great in the future.

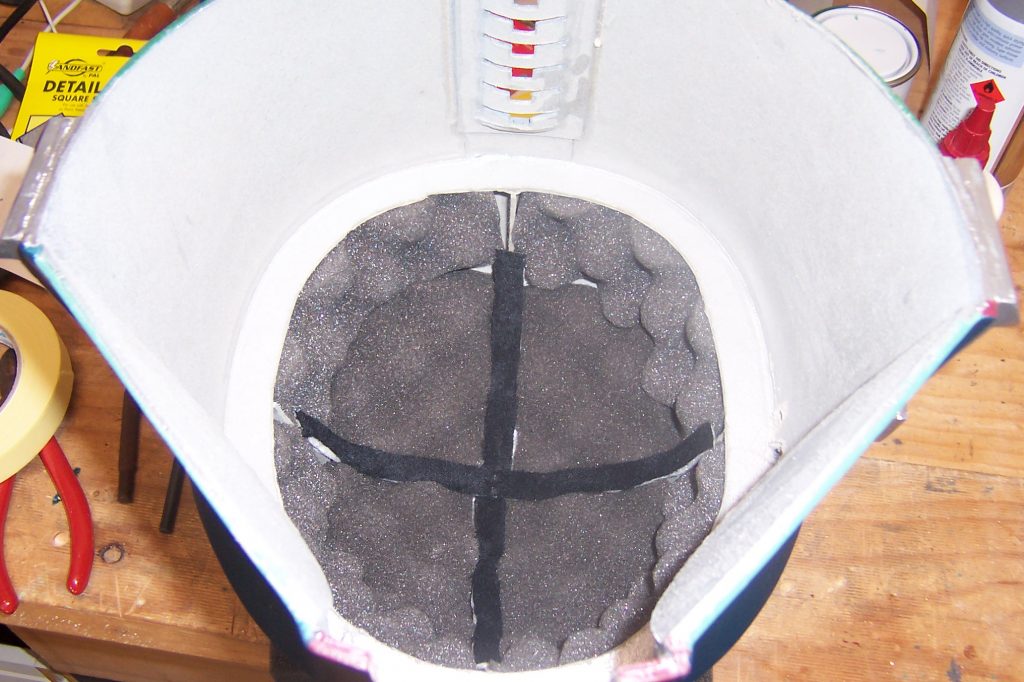
The structure of the dome that is all glued together is very hard to wear on the head with out some sort of protection, so some padding was added to ensure the helmet sits on my head and doesn’t wobble around too much. For the party, there is no time to make and fit a proper helmet strap such as you would find on a hard hat, so this will have to do.
With so little time to complete this, I didn’t have time to properly mount the circuit board and battery inside the helmet, so I just taped them in with thousand mile an hour tape (duct tape or cloth tape for those of you who are unfamiliar with the motor racing term).

You can also see the bolt that the rangefinder pivots on, and how the visor was attached to the inside. I used 5-minute epoxy to hold it in place in several different spots. The visor was made from some thin plastic I had lying around and I attached the darkest window tint available from an auto dealer.
So, there you have it. A strawboard Boba Fett ROTJ helmet. These piccies were taken just hours before we left.


Anyway, I am almost sure nobody will know the character anyway, even if they did watch the Star Wars movies. I will probably be spending all night explaining who he is. It was a great project though and I thoroughly enjoyed the build.